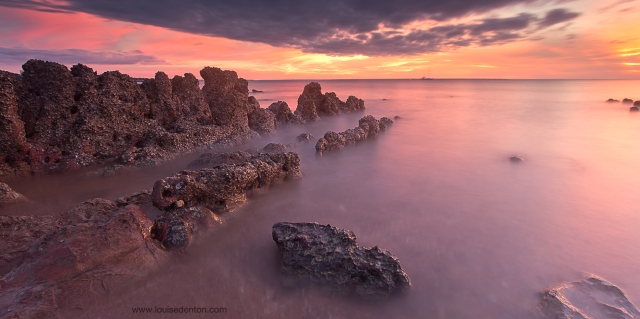
One of the most asked questions about my photography in my stall is “are these photoshopped?” The answer is yes and no.
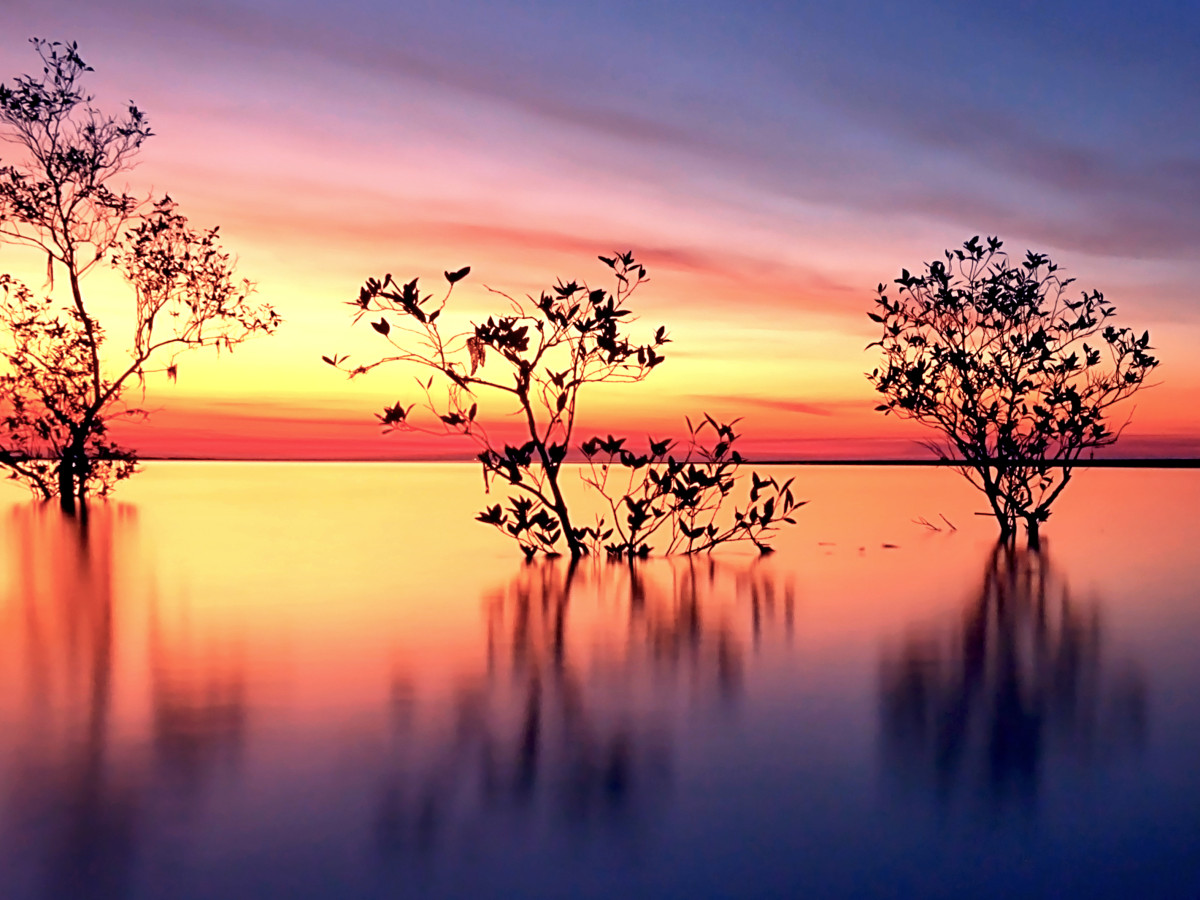
No – the photographs I display in my stall are not “photoshopped” to appear surreal or fake. The colours are not pushed to the extreme, the rainbows really were in the scene – I didn’t add them in. The magpie goose really did fly in front of the eclipse at the right time, yes the lightning was real and yes that flock of birds really was that big.
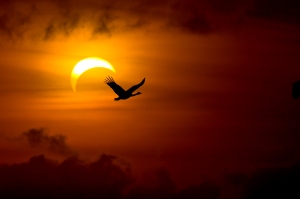
Taken from Ubirr, Kakadu in November 2012. Just after sunrise, so all the birds were beginning their daily commute!
The scenes as I hang in my stall are 100% a real scene, and between 95% and 100% true to the Straight Out Of the Camera (SOOC) shot.
The above photo of the magpie goose has been cropped to about three-quarters of the original shot, to position the bird and the sun in a better portion of the photo.
How I use Photoshop
I would be lying if I said I didn’t “photoshop” my photos. All pro photographers use editing software in some way. They would be lying if they said they didn’t!
I think there is a difference in the way we can even speak the word “photoshop”. For me, when someone says “that photo is photoshopped” – it implies the photograph isn’t real and is manipulated, to completely alter the scene.
In my photographs, I would never refer to them as being “photoshopped”. Instead, a less insulting way to use the word is “they use photoshop on their images”. And that is true. I do!
Recently, I heard about quite a famous Australian Pro photographer who keeps a stock of files to use in new images. For example, a sky with interesting clouds, or a cloud-less sky, or rainbows etc – so that if a new photo is taken that is lacking this, it can be layered in to the new photo. So you can add in a perfect cloudless sky, or a rainbow, etc. I don’t do this, and I don’t really agree with it either. To me, being a landscape photographer is about showcasing nature – i.e. the natural sight. If that rainbow or perfect sky isn’t there, you have to revisit the location on another day.
This blog is just a quick introduction to explain what photo-shopping usually is to photographers, and to illustrate how I (and many other photographers) use photoshop.
For those people who are familiar with Photoshop, I use CS5 and it comes with a package called Camera RAW. Camera RAW is software to process the RAW files, before transferring them in to photoshop.
What is a RAW file?
When you take photos on a normal camera, the files you then transfer to your computer are typically JPEG files. DSLRs do take JPEG files as well, but you can also choose to record your image as a RAW file type instead. As a photographer, this is a much, MUCH better way to record images. If you are a photographer, and you edit your photos digitally but still shoot in JPEG then stop – switch to RAW!
RAW files are exactly that – they are the raw file format. A lot of people don’t realise that when shooting in JPEG, the camera actually makes changes to your photo in camera. It can create more even exposures, it boosts the contrast, saturation and sharpness for you – in the camera. Most people who use a camera, do not want to sit at a computer making their photos look nice and “as the scene was” – the camera does it to your JPEGs.
RAW files on the other hand, are RAW. The camera makes absolutely no adjustment to the photo whatsoever. A lot of people who make the jump to RAW might notice a decrease in contrast and saturation of colours in their photos. However, this is where post-processing comes in.
Post-processing refers to the processing you do to a photo after it has been taken and stored on your memory card. I.e. the processing you do on the computer. There are many programs to do this, and one of the best known (and the one I use) is Photoshop.
RAW files need processing on the computer. They can be flat and need to have that “JPEG” style treatment done to them. The difference is that as the photographer and editter (new word?!), you can control how your photograph looks by doing it yourself.
RAW files are a much larger file: each of my photographs is around 22MB off the camera and when editing and stitching photos, it’s not uncommon to go over 100MB or even 200MB for one file.
RAW files give much more flexibility with how you can edit your photos, because there is no JPEG information stored in the file. The photo is a clean slate. I recently returned to JPEG files for a few photos, just to try to edit them and see how it worked. You do not get as much capability to change the photo, as there is already information there in the JPEG file that you have to write over with your extra editing.
RAW files give much more flexibility to adjust colour balance for example, if you choose the incorrect white-balance setting in camera you can easily adjust it by editing a RAW file. This is not so easy to adjust with a JPEG file.
Anyway, I am getting side tracked…. Use RAW files!
So, what do I change in my photos?
The answer is “not a lot”. I tend to “tweak” and “adjust” as opposed to “change”.
I tend to do the exact same thing every time.
- Open RAW file in Adobe Camera RAW
- Correct barrel distortion (this is curved horizons due to using a wide angle lens)
- Correct any Chromatic Aberration (CA is coloured fringes on the highlight edges, which can be caused by my wide angle lens)
- Straighten the horizon
- Tweak the exposure level, sometimes a little brighter, sometimes a little darker
- Sharpen
- Reduce noise (grain).
Then I open the file in Photoshop, I use version CS5. There is not too much left that I normally do, and it depends on the picture.
- Check to see if there are any spots, dots, pieces of litter, random people, etc in my photo and remove if required
- Sharpen, selectively, on the area that is my focal point.
- Adjust white balance, for example increasing the levels of yellow in the golden highlights or removing blue/green from the shadows.
- Enhance the areas of the sky to compliment the foreground, for example reduce the contrast in the clouds to add a bit more drama or boost the magenta in the magenta area of sky.
- Usually an overall contrast adjustment to give the image more pop.
That’s usually it.
As it does depend on the photo, I will illustrate below with an example so you can see the transition and tiny changes I make between SOOC and completed edit.
Example of an edit, step by step
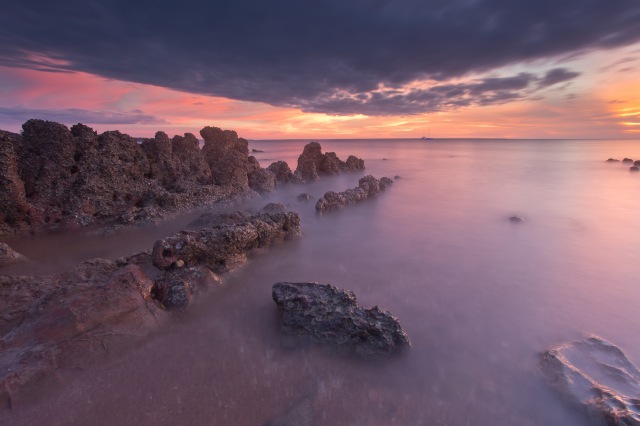
Below is a RAW file, that I have opened in Camera RAW, purely to save it as a JPEG file for uploading here. This is the SOOC photograph, except for correcting the curve of the horizon.
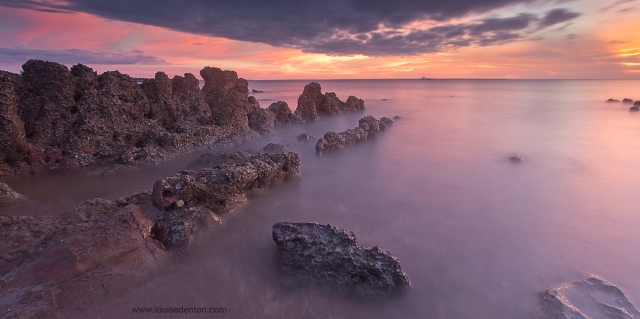
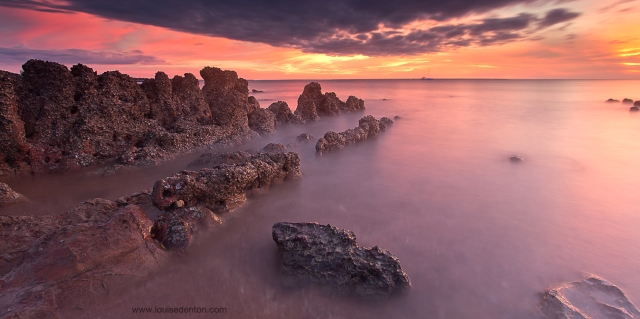
Next step was to open in Photoshop. The below photo has been cropped to a more panoramic style composition, which I felt flattered the shape of the rocks more and eliminated much of the dark sky. I also added a watermark and sharpened the rocks.
The next step was to enhance the golden light shining on the rocks.
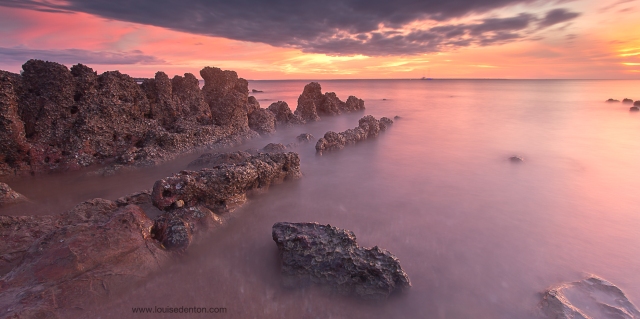
I then adjusted the contrast throughout the picture by using a “levels” layer. This gives control over the levels of black and white in the histogram of that particular photo.
Sometimes, because the sky is quite a bit brighter than the foreground and often a different colour, it can be good to make adjustments to areas, selectively. I.e. just the sky, or just the rocks. In this particular image, I adjusted the contrast in the sky by itself as well.
That’s the completed file.
I’d be interested to hear what you think….. Too much editing? Not enough?!
In the future?
I’ll be sharing more in-depth explanations of how you can use particular layers in Photoshop. My knowledge is limited – there is SO much you can do in Photoshop. However, if you like my images I am happy to share what I do, to create what I create.
Let me know what you think.
🙂

