
It’s been a while since I posted a work-through of a particular photo. My processing techniquye and style has probably evolved quite a bit since then, so I thought it time to do another one.
This example is slightly different in that I’m going to use two versions of the same image, to blend together for a correct and balanced exposure. The image below is probably not the best example of when and why to blend two images together – the image below is more so just to show the technique.
When/why would you blend two (or more) images together?
Generally speaking, photographers blend multiple images to create a better dynamic range. A camera cannot see as well as the human eye; a camera cannot see deep in to shadows like we can and still see the brightest areas of sky. Often, one shot for the sky (bright) and one shot for the foreground (darker) will be combined in to one photo to give the full range of bright and dark in one photo. The range of light and dark tones is known as “dynamic range”; i.e. blending different exposures together in to one photo gives a better dynamic range.
This image is the straight-out-of-camera image (SOOC):
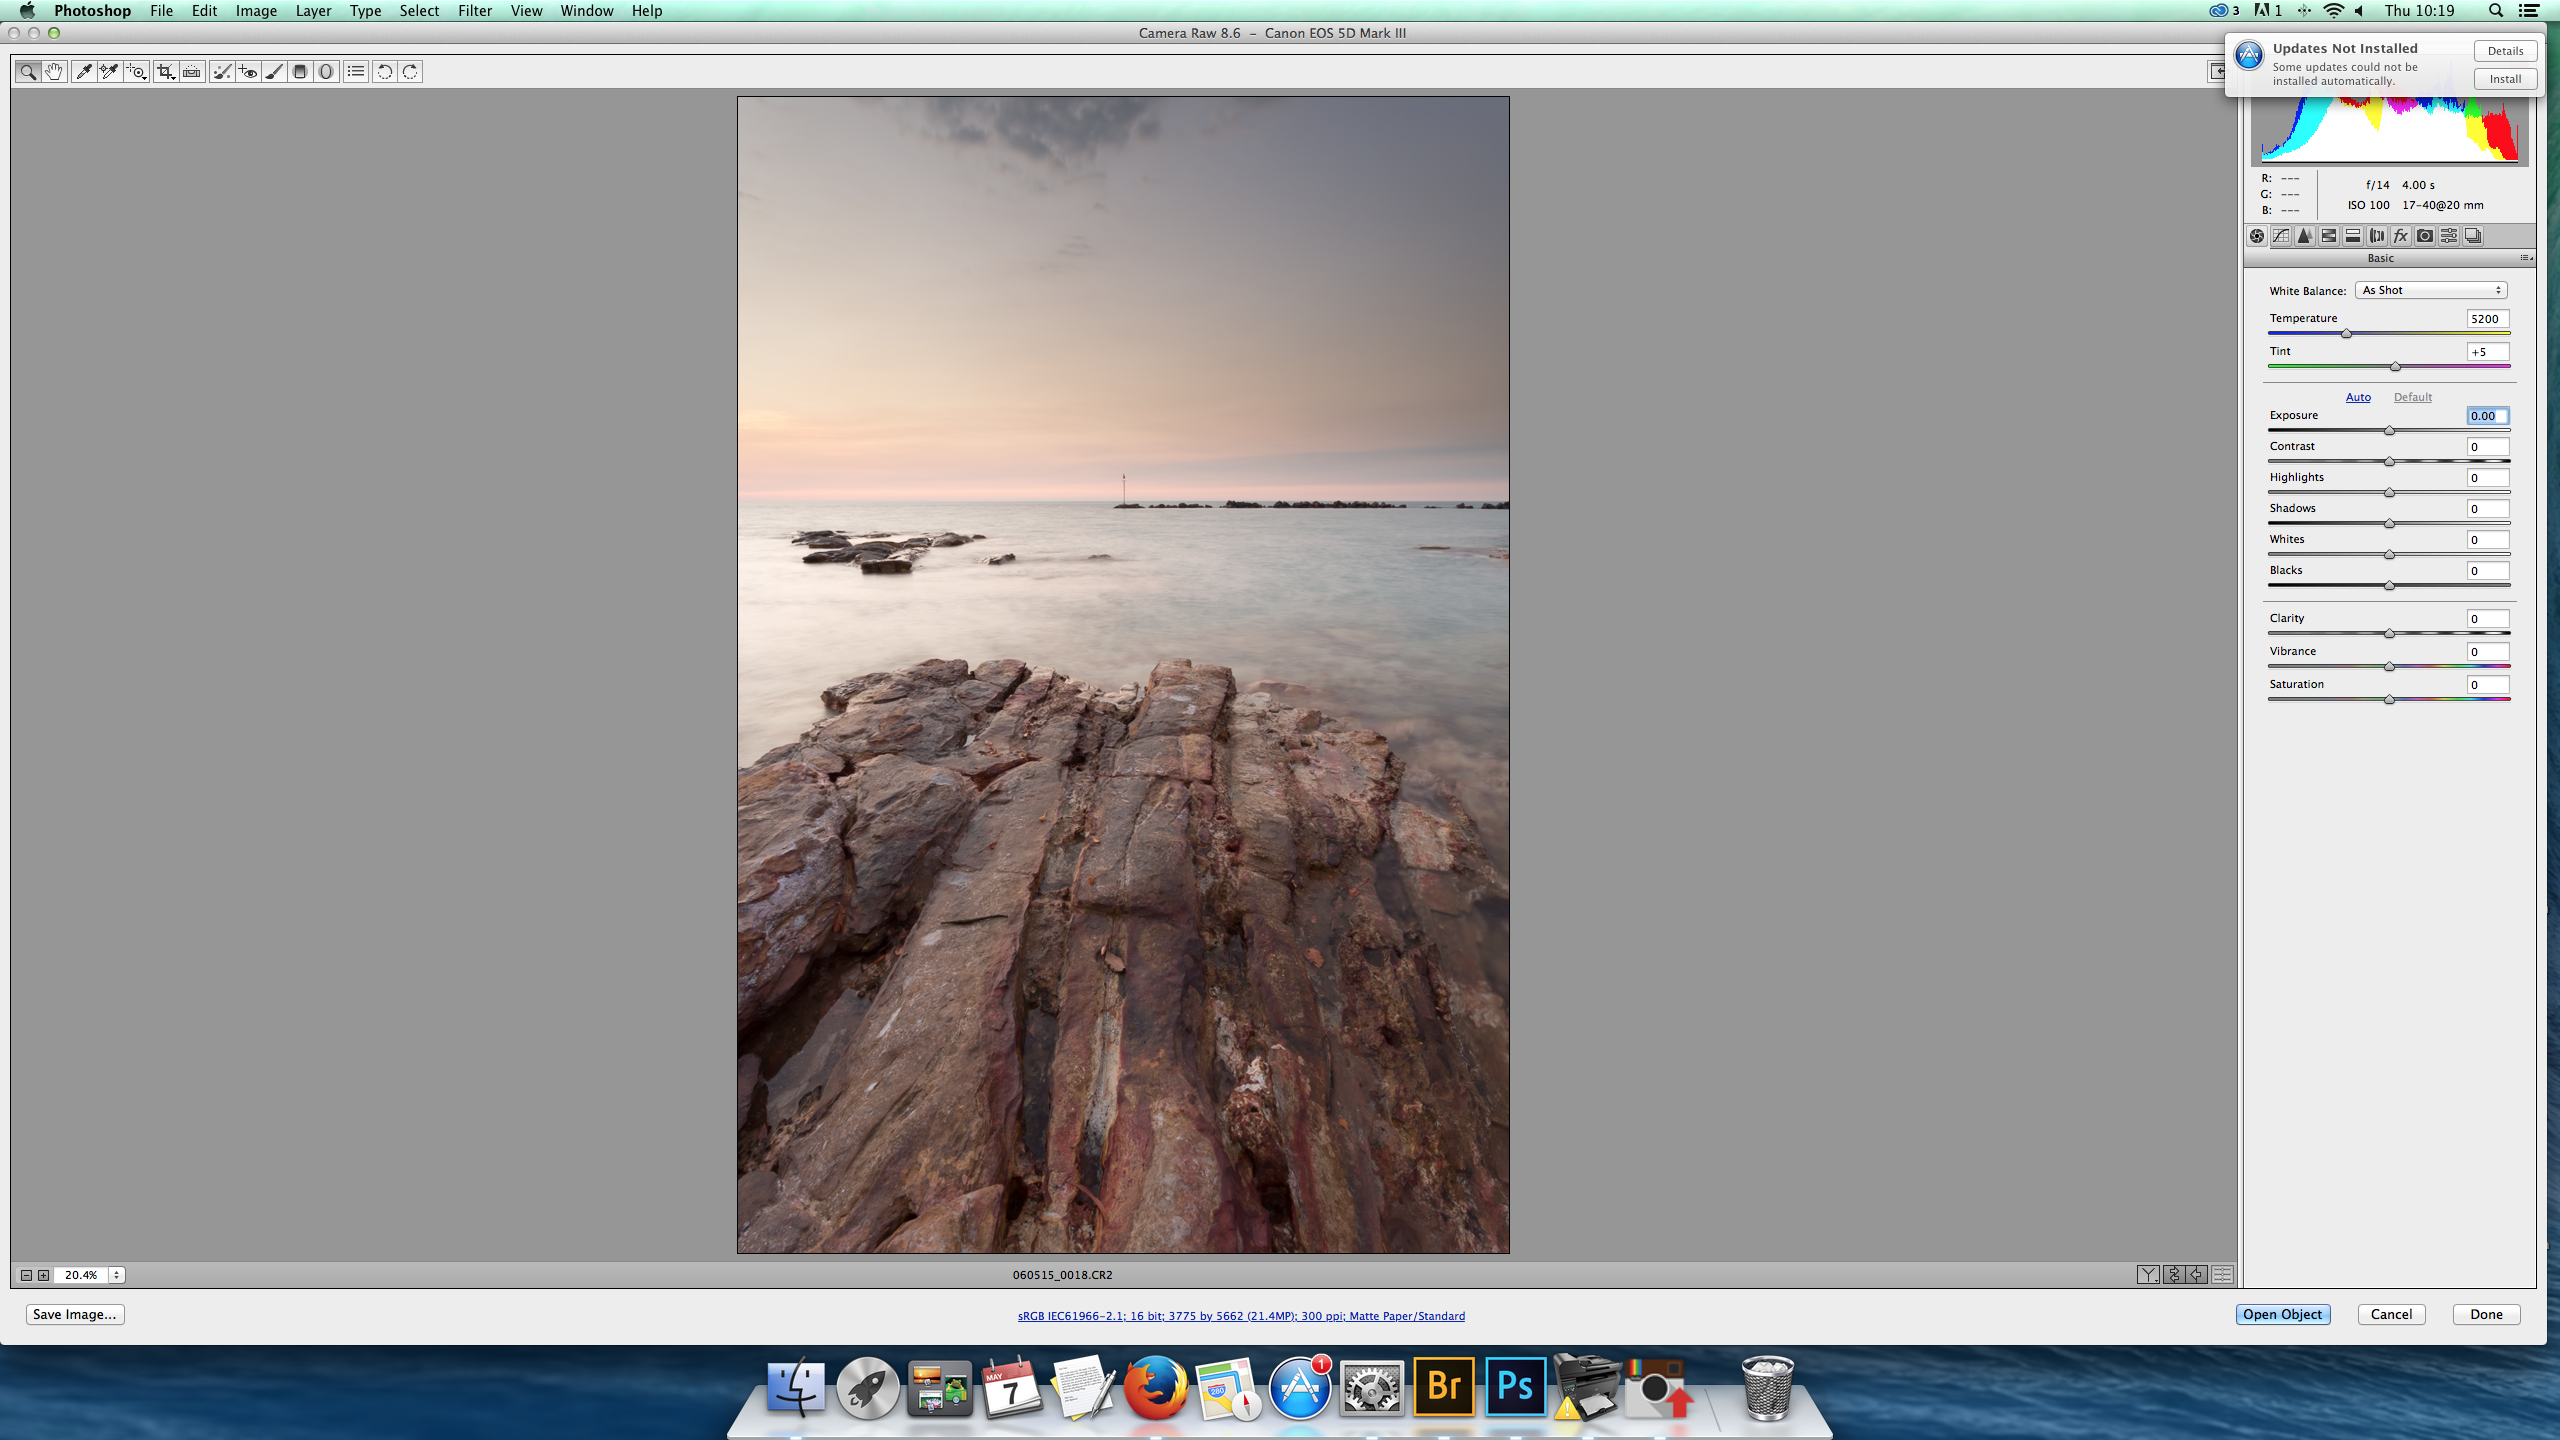
The above image is opened in Adobe Camera RAW (CC), and this is still where I do my basic go-to edits:
- Lens Correction (removing distortion)
- CA Correction
- Straightening the horizon
- Noise Reduction and base sharpening
In this instance I actually am going to start in Photoshop with two versions of the same image which is cheating a bit. Normally I would start with two different images of the exact same scene (one brighter image, one darker image).
In this instance I didn’t bracket (take multiple shots) so, in Camera RAW I have moved sliders to make one version as slightly lighter – recovering some shadow detail in the rocks. The second version is a little darker which recovers some of the highlight details from the sky and water. Two versions of the same image are then combined in to one document in Photoshop. If you need further step-by-step explanation of how I did this, let me know in the comments.
Here are the two versions side-by-side to illustrate what I’ve done:
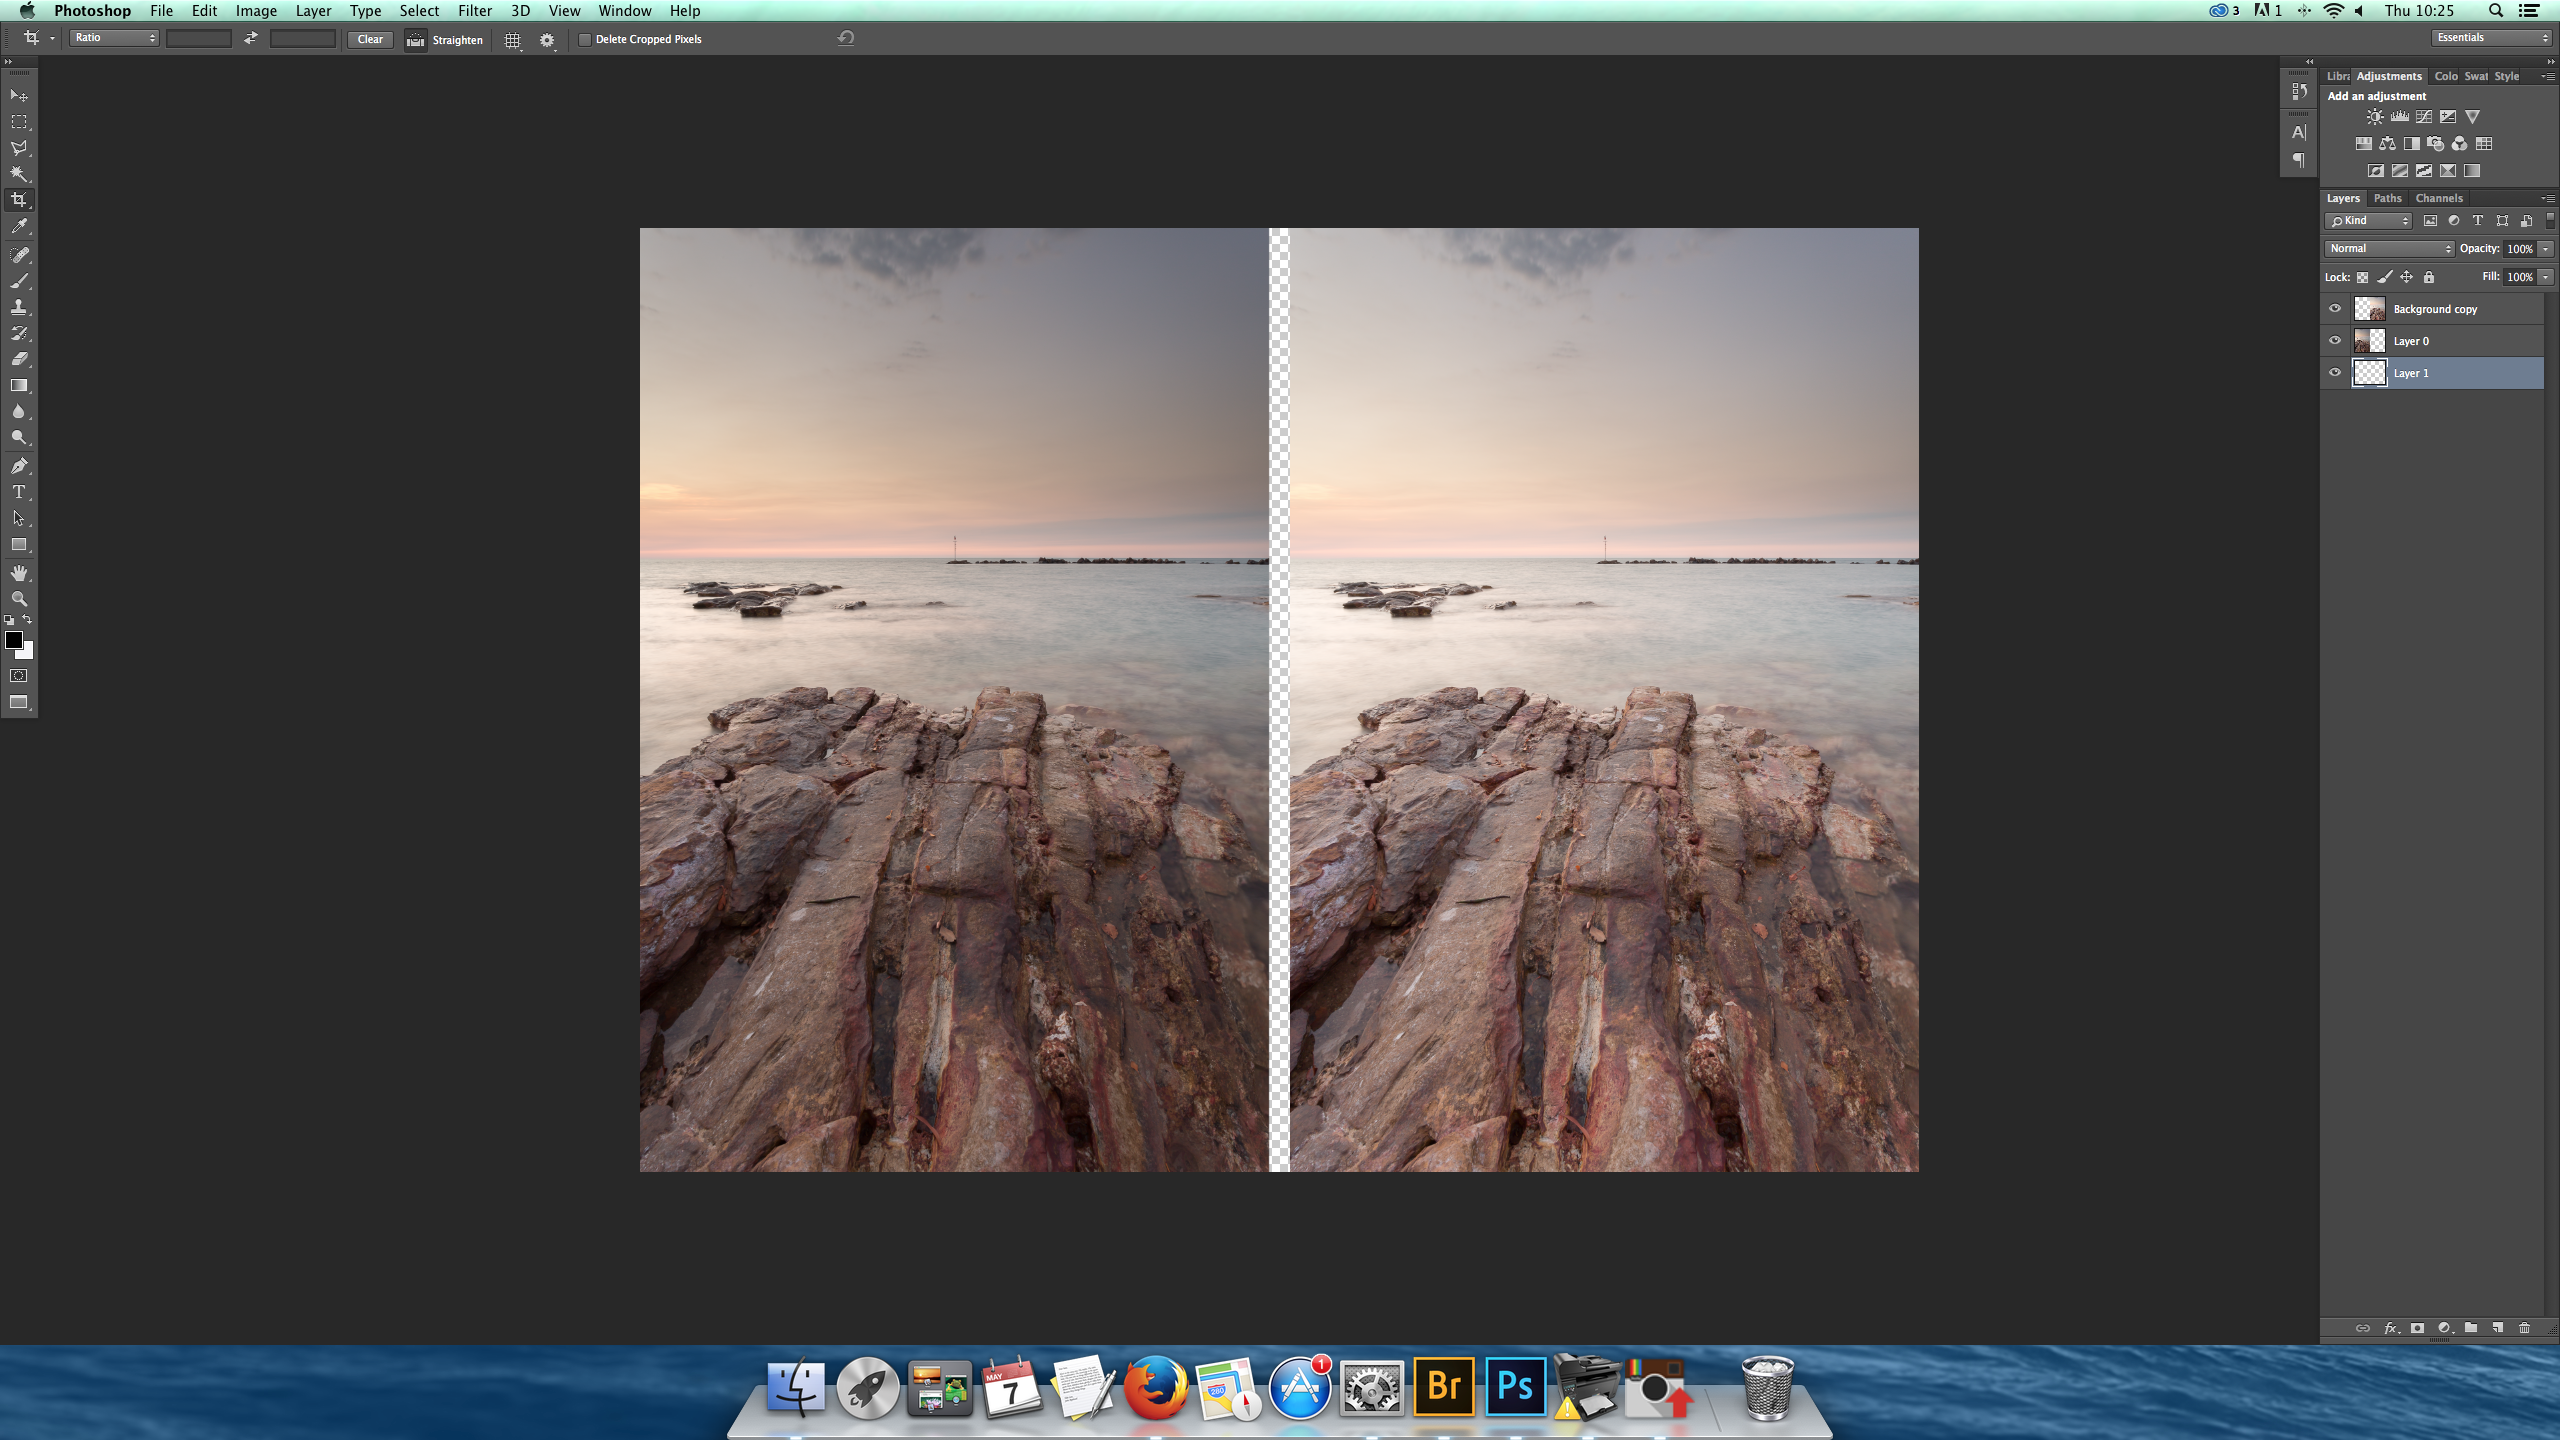
So with the two images together as identical layers in Photoshop, the images will blend well – they’re identical. You can also take multiple shots to do this, but with moving objects like water, blending can cause ghosting where parts of the image in one image not there in the other can be faded in a bit weird.
I don’t often blend exposures like this, I usually do most editing from one image (I can do another work through later) through using filters (graduated neutral density filters). I would say only 5% or so of my images are blended in this way.
So here we are back with the image in two layers stacked together:
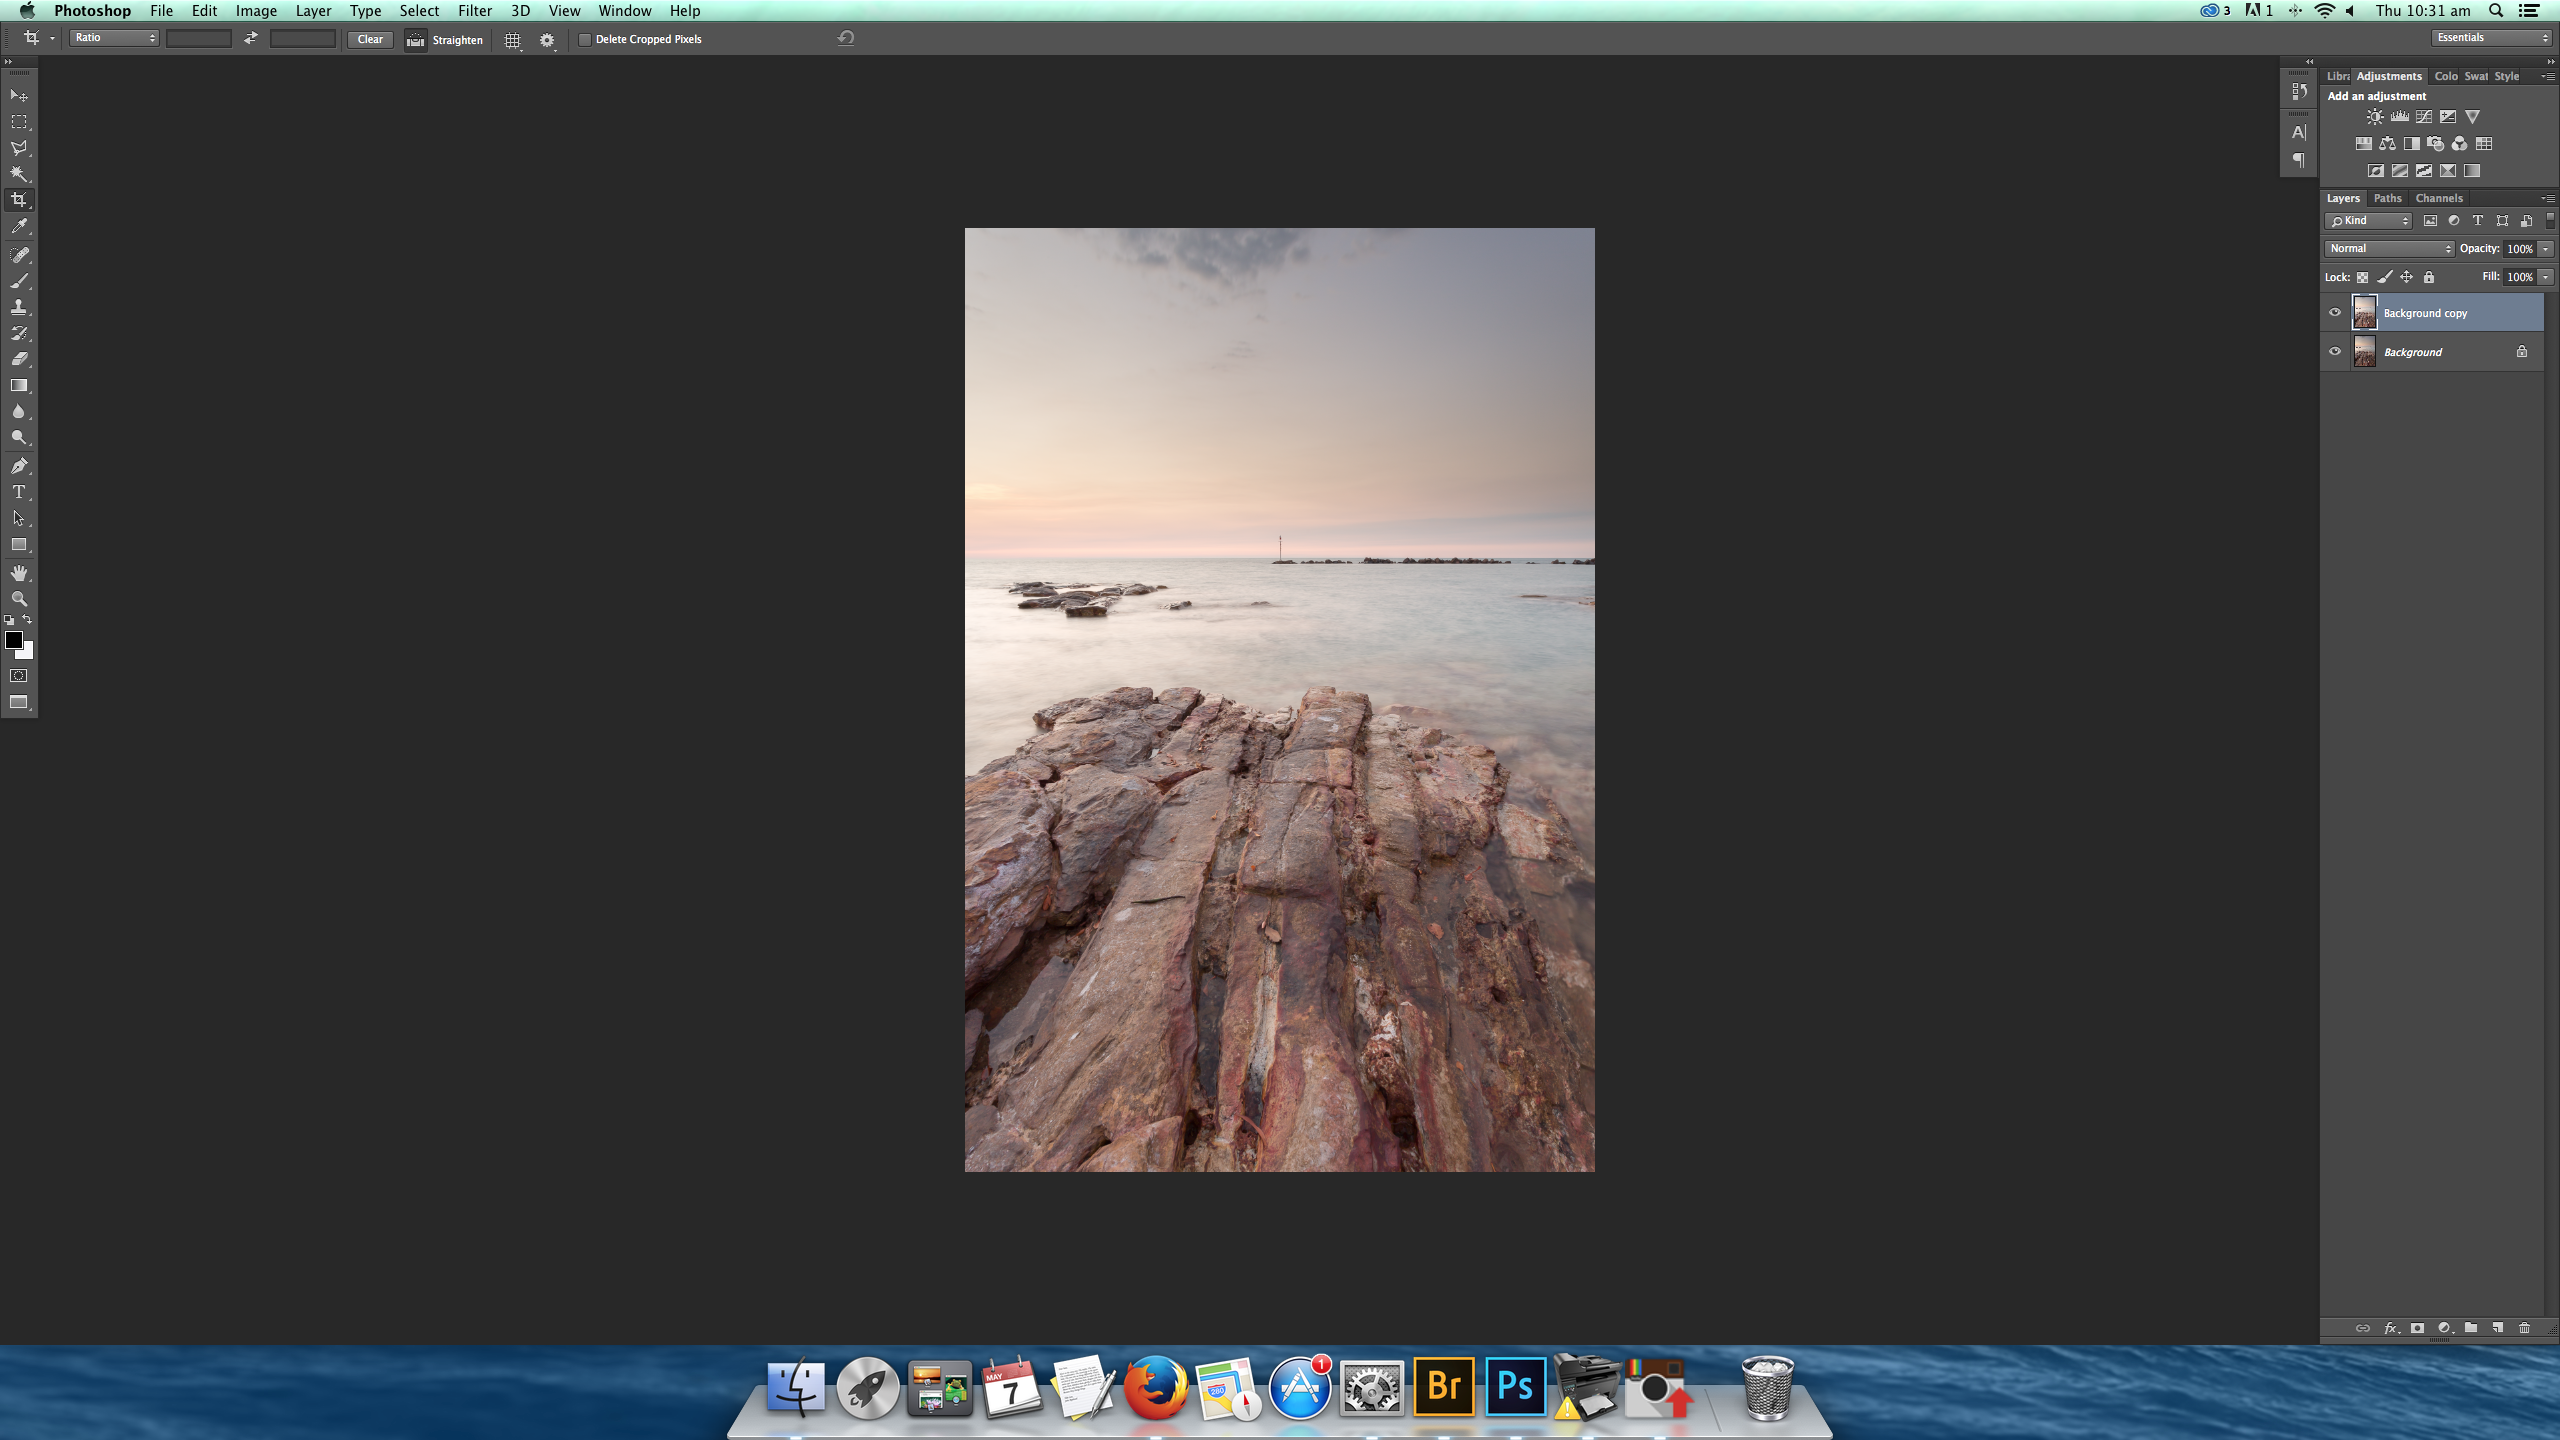
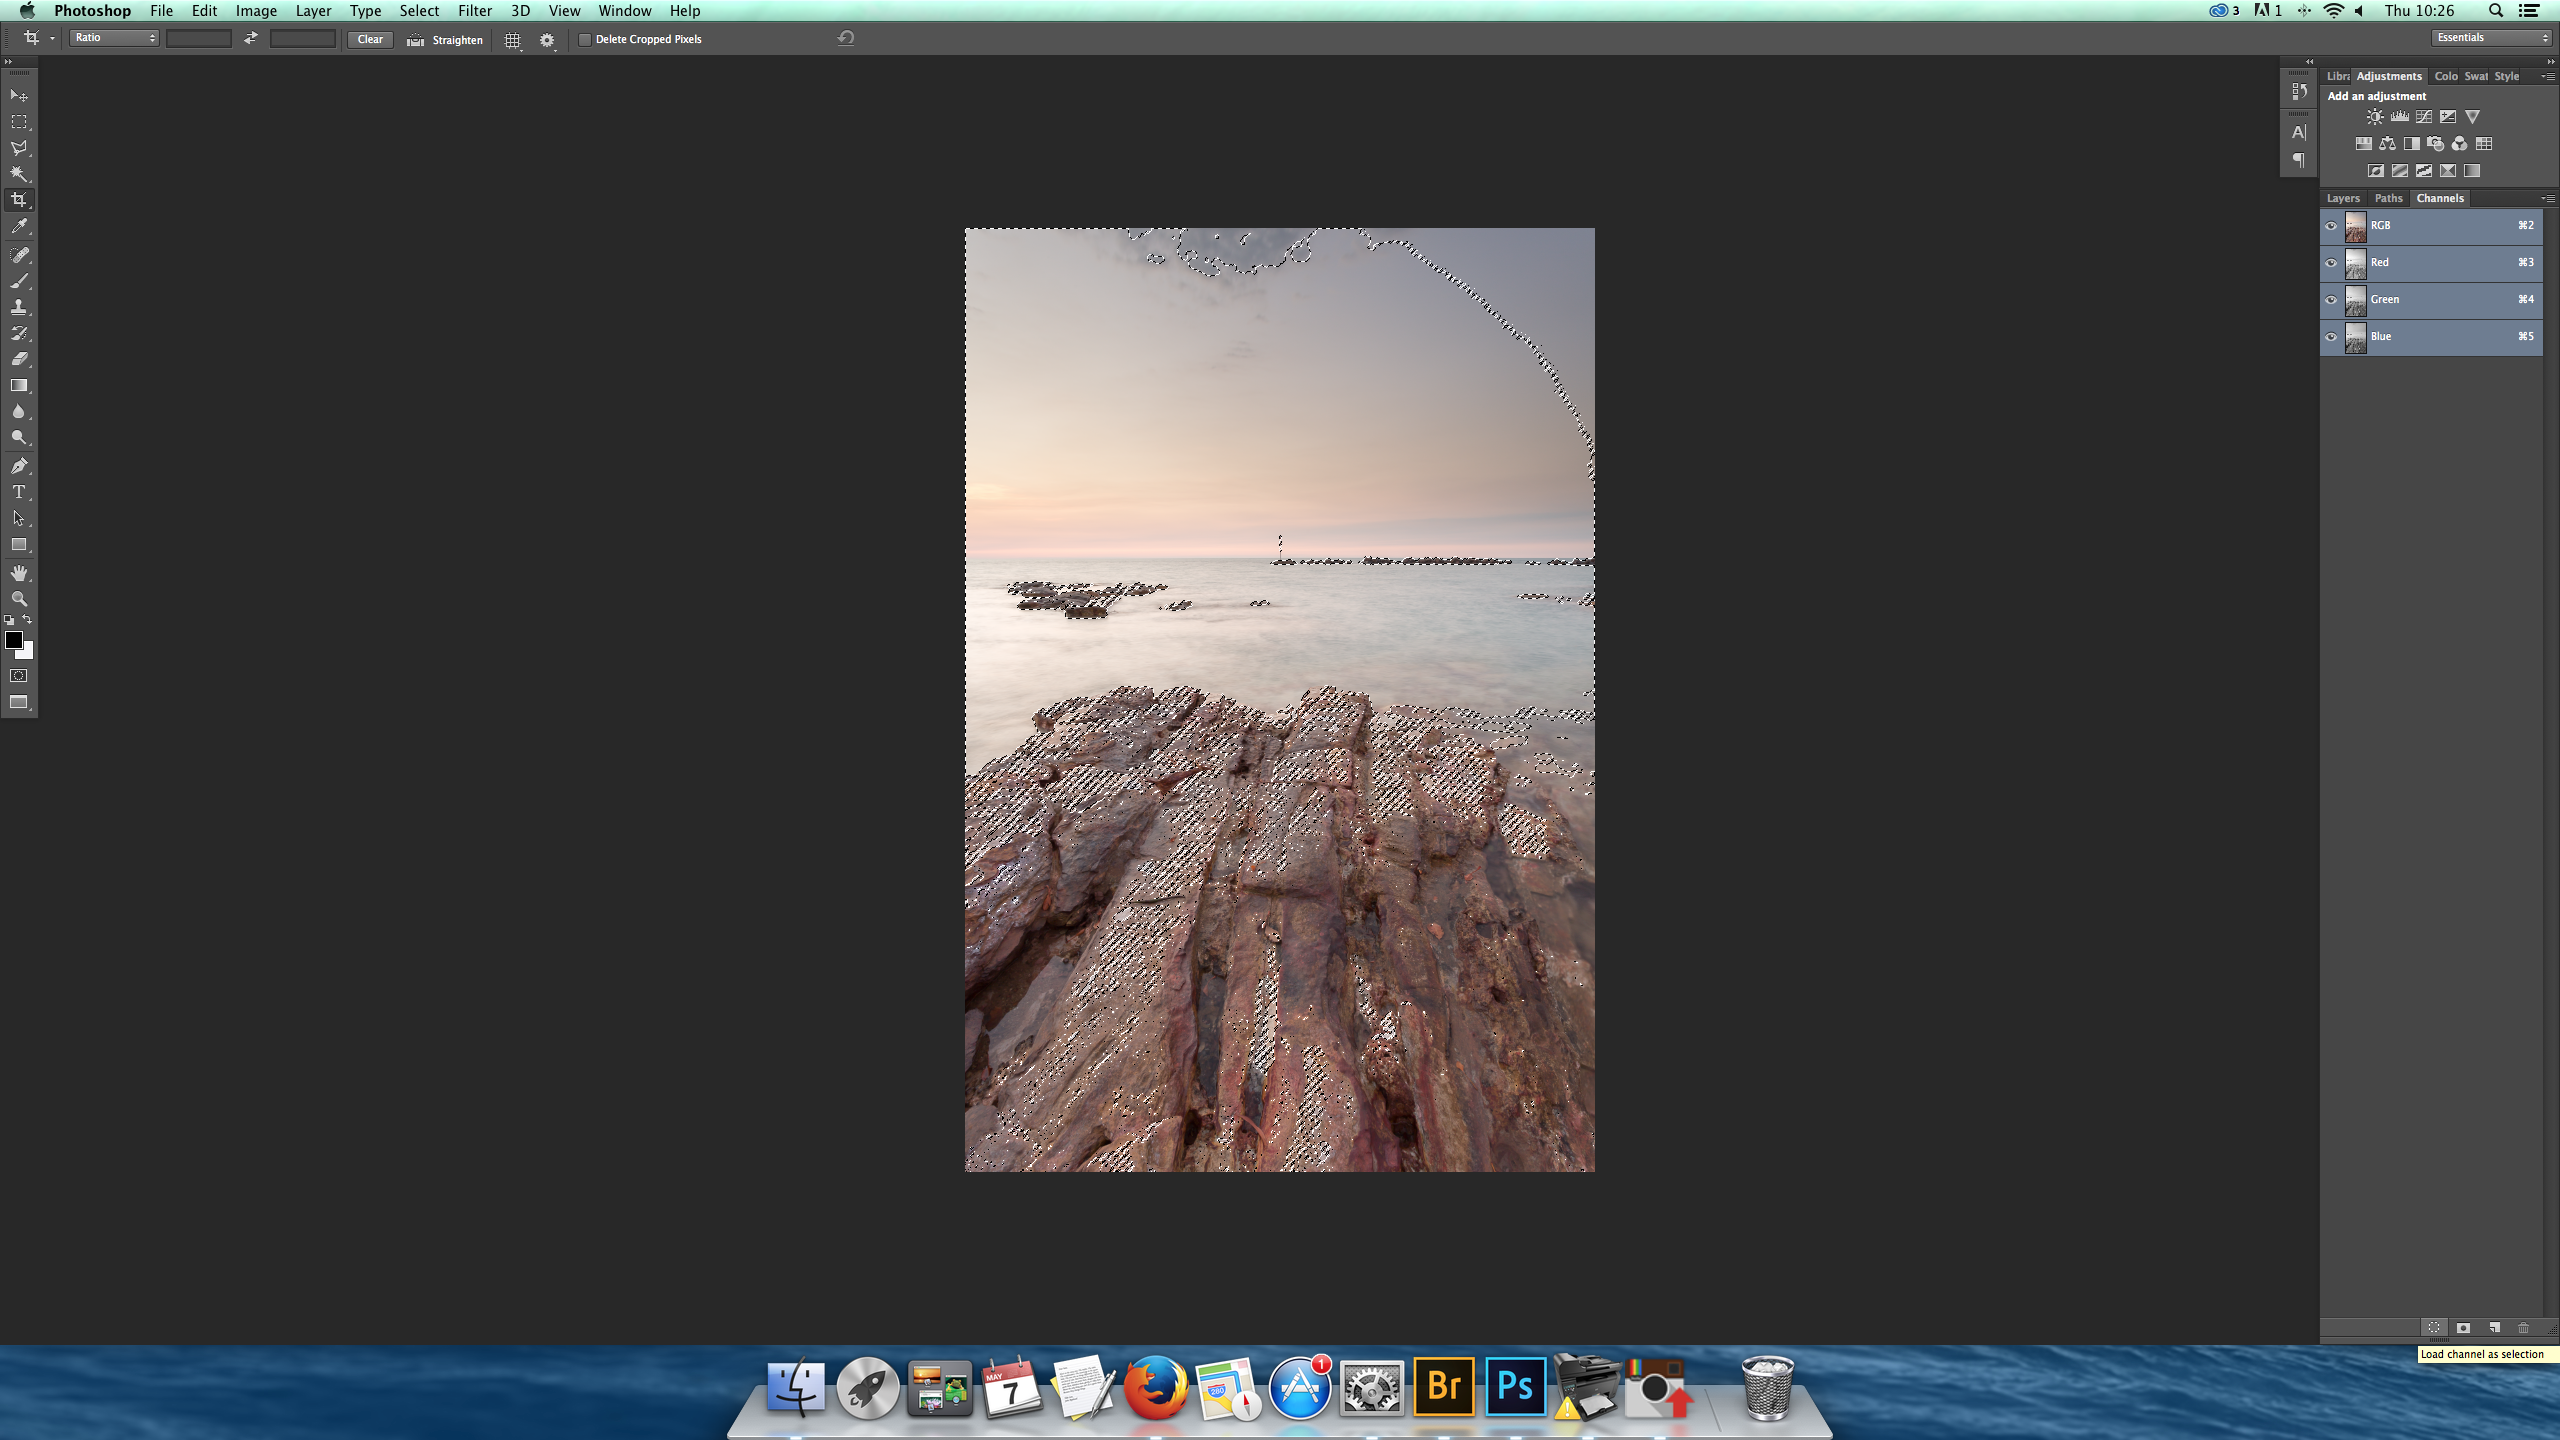
You can see above I have the lighter image on top of the darker image. Flick over to the Channels pane (by default I am on the “Layers” panel):
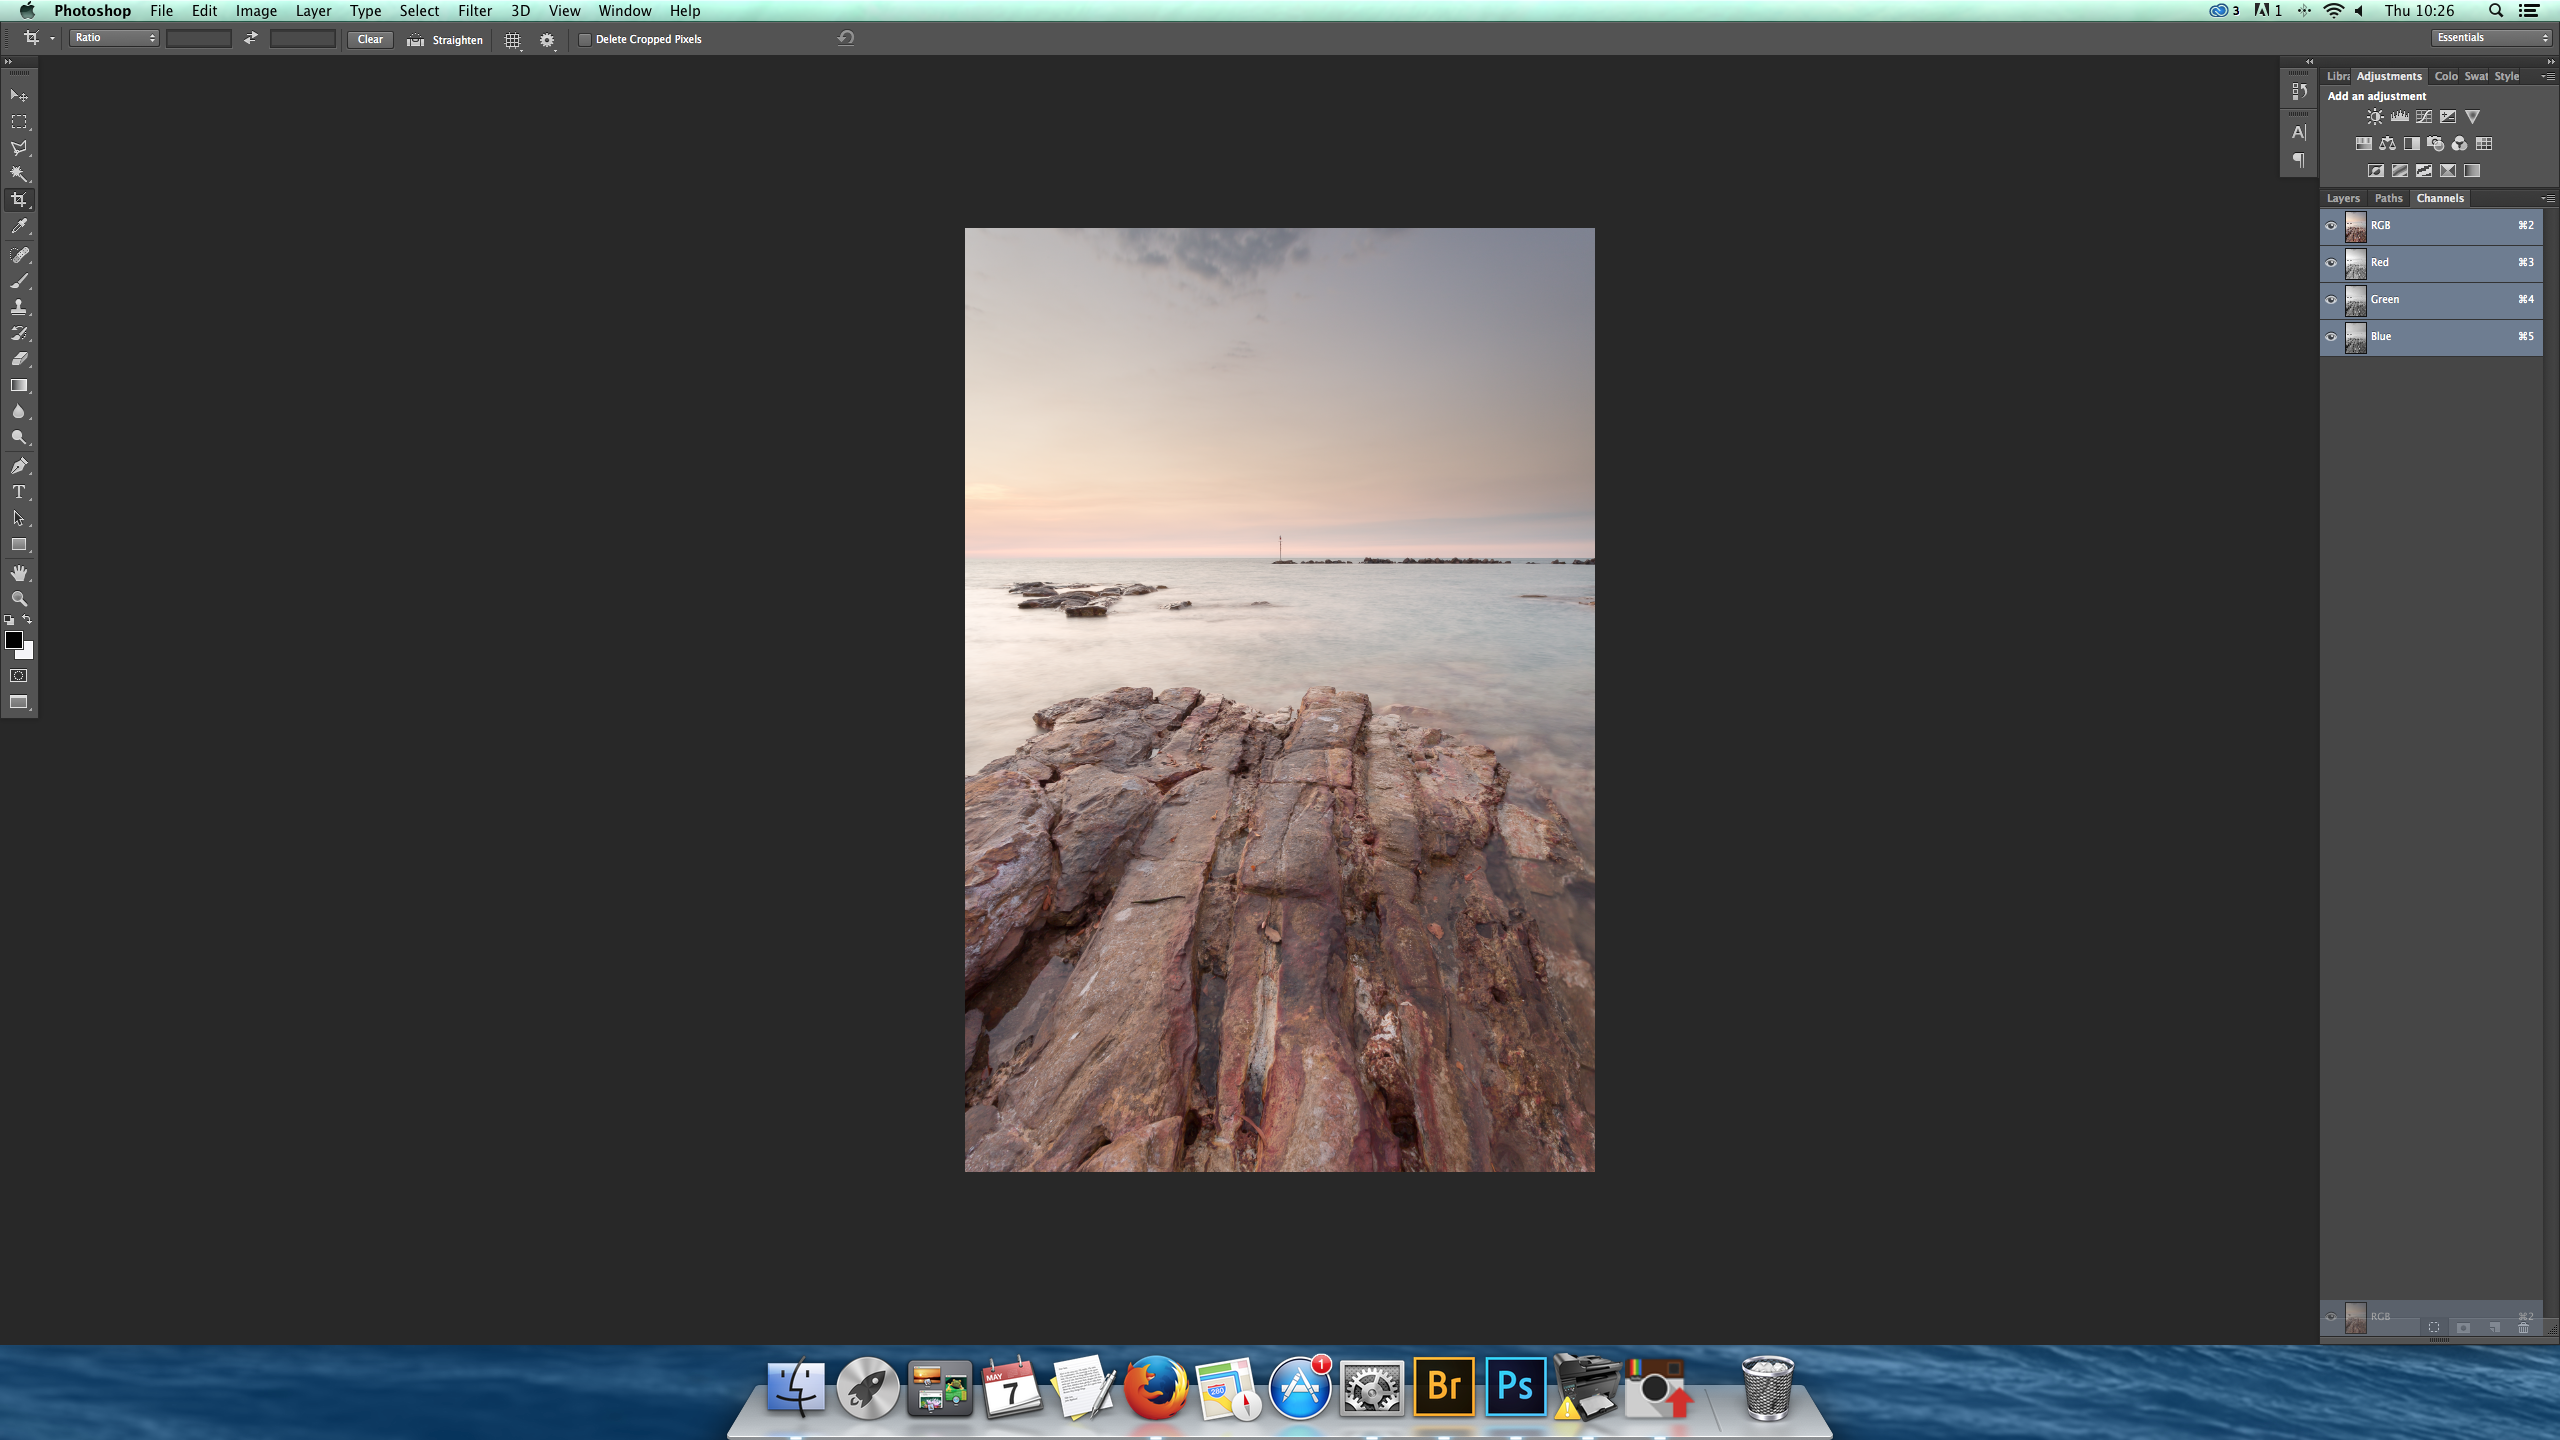
You can see above that I have dragged the RGB layer from the Channels Panel down to the circle icon at the bottom of the pane. The circle icon loads a selection of pixels from the image. By dragging the RGB down to the circle, a selection of all of the lightest pixels comes up:
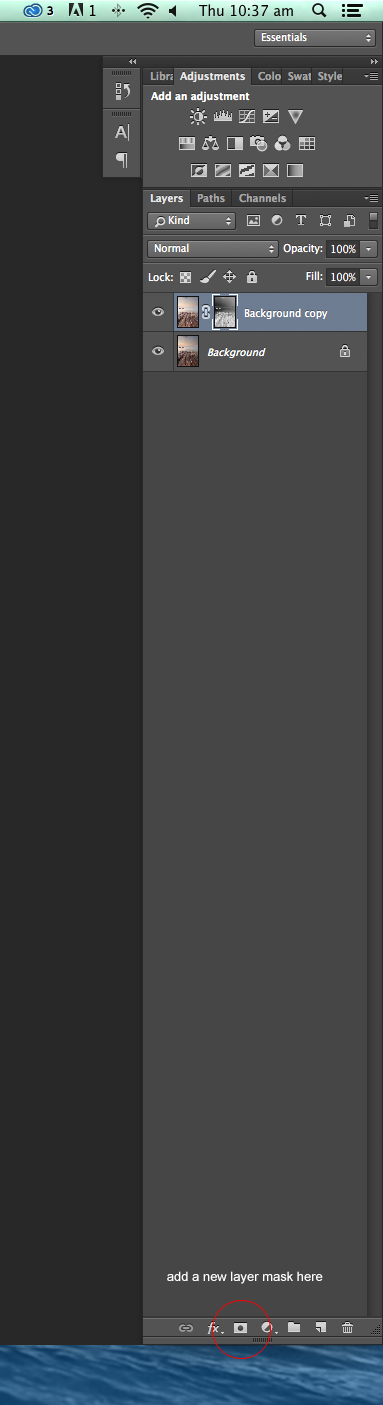
Flick back to the layers pane whilst the “marching ants” are selected and press command+shift+i to inverse the selection. Then hit the new layer mask button from the bottom of the layers pane.
What this does is create a mask for that layer, which hides all of the highlight pixels and reveals the darker pixels from the second background layer underneath.
I usually manually adjust this mask a little to reveal lighter and darker areas where I want… So in this case I used a brush tool to lighten the foreground rocks a bit more and darken some of the lighter areas in the sky and water. White reveals the later and black conceals. So for me in this case painting with white reveals the lighter pixels of the top layer. Black hides the lighter pixels and brings the darker ones from the bottom layer.
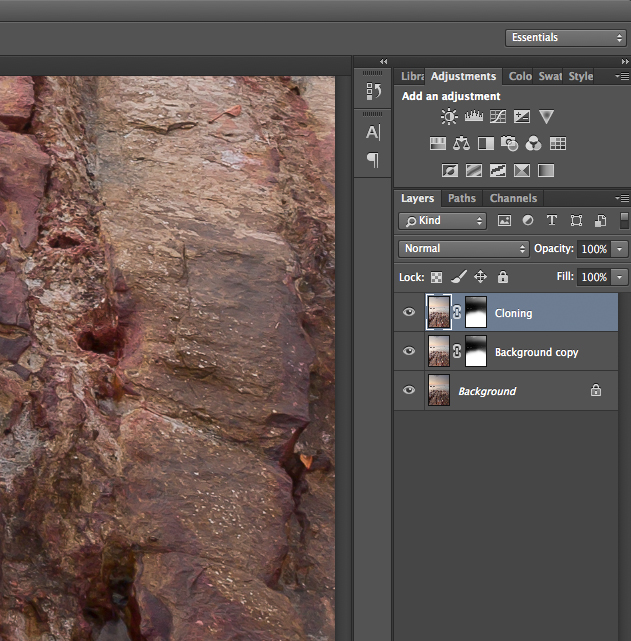
My next step before I continue with any further masks or layers is to create a duplicate background layer for cloning the clutter and leaves from the foreground. Usually I move these by hand at the time of the shot… but I missed a few and now I have to spend the time in processing to get rid of them!
I duplicate the layer to retain the original. By duplicating the layer and cloning on a duplicate, if I make a complete stuff up or need to restart I can – by deleting the duplicate and starting again from the original background layer – if that makes sense.
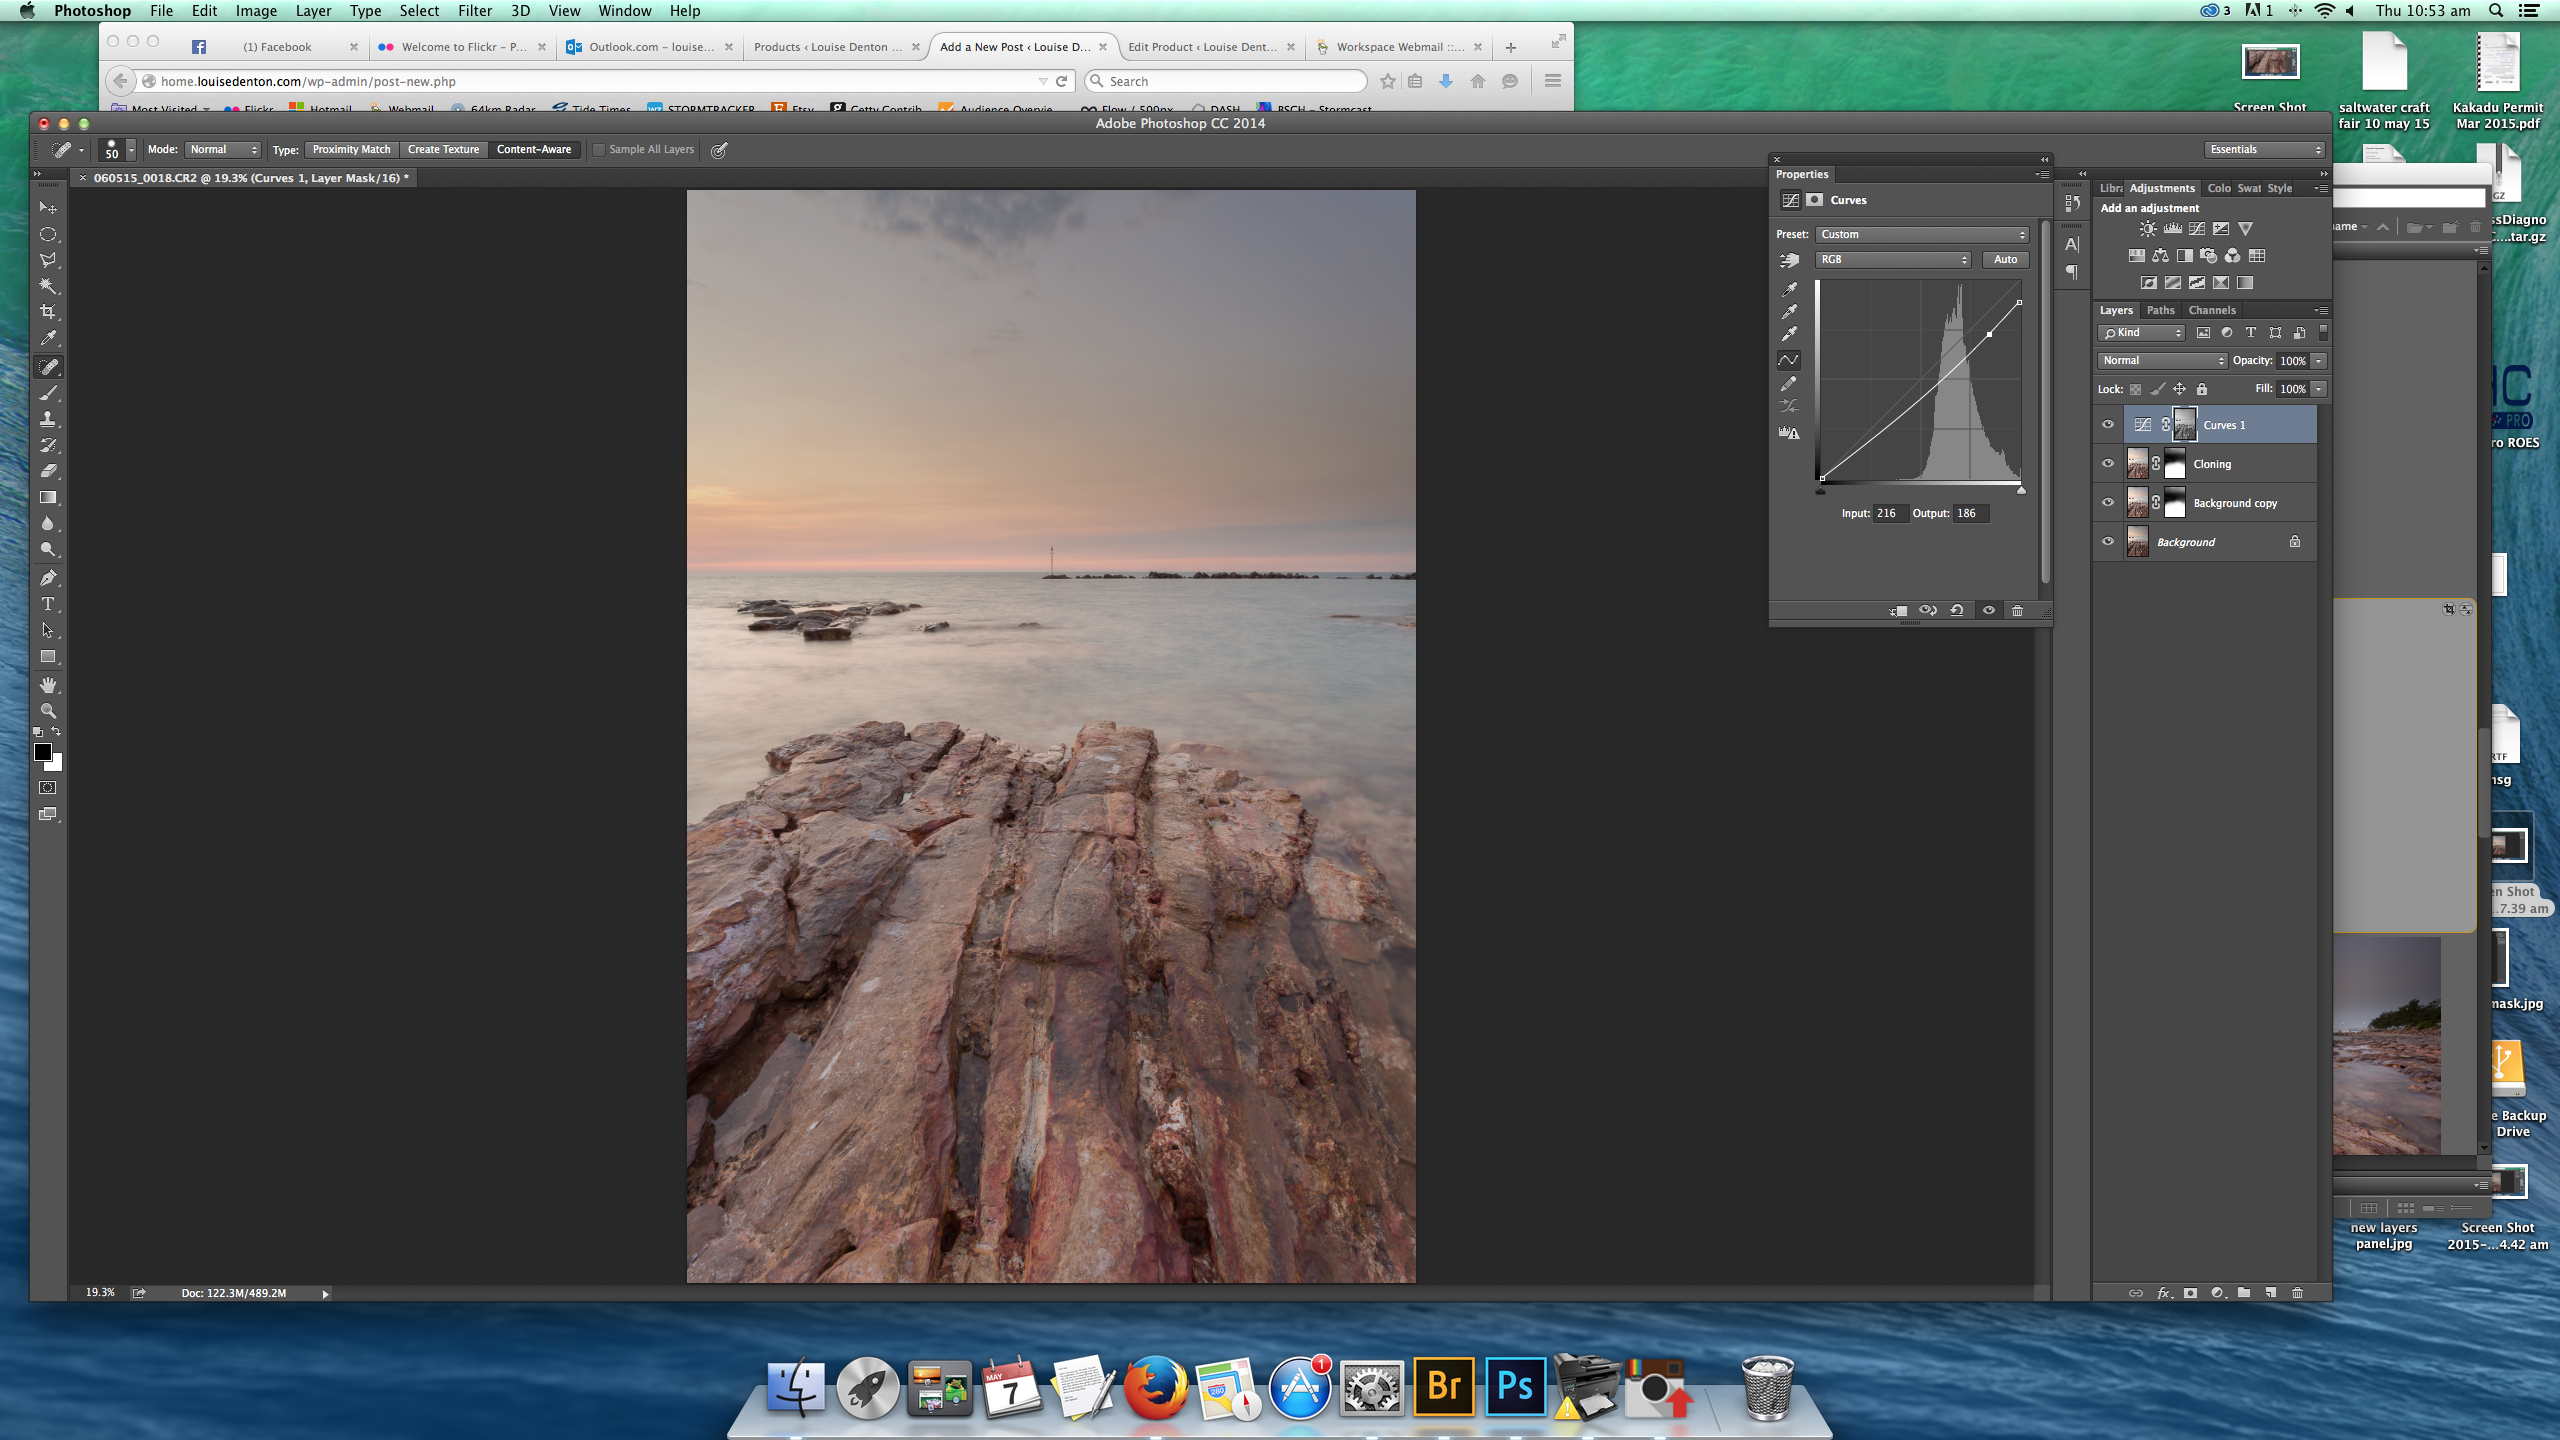
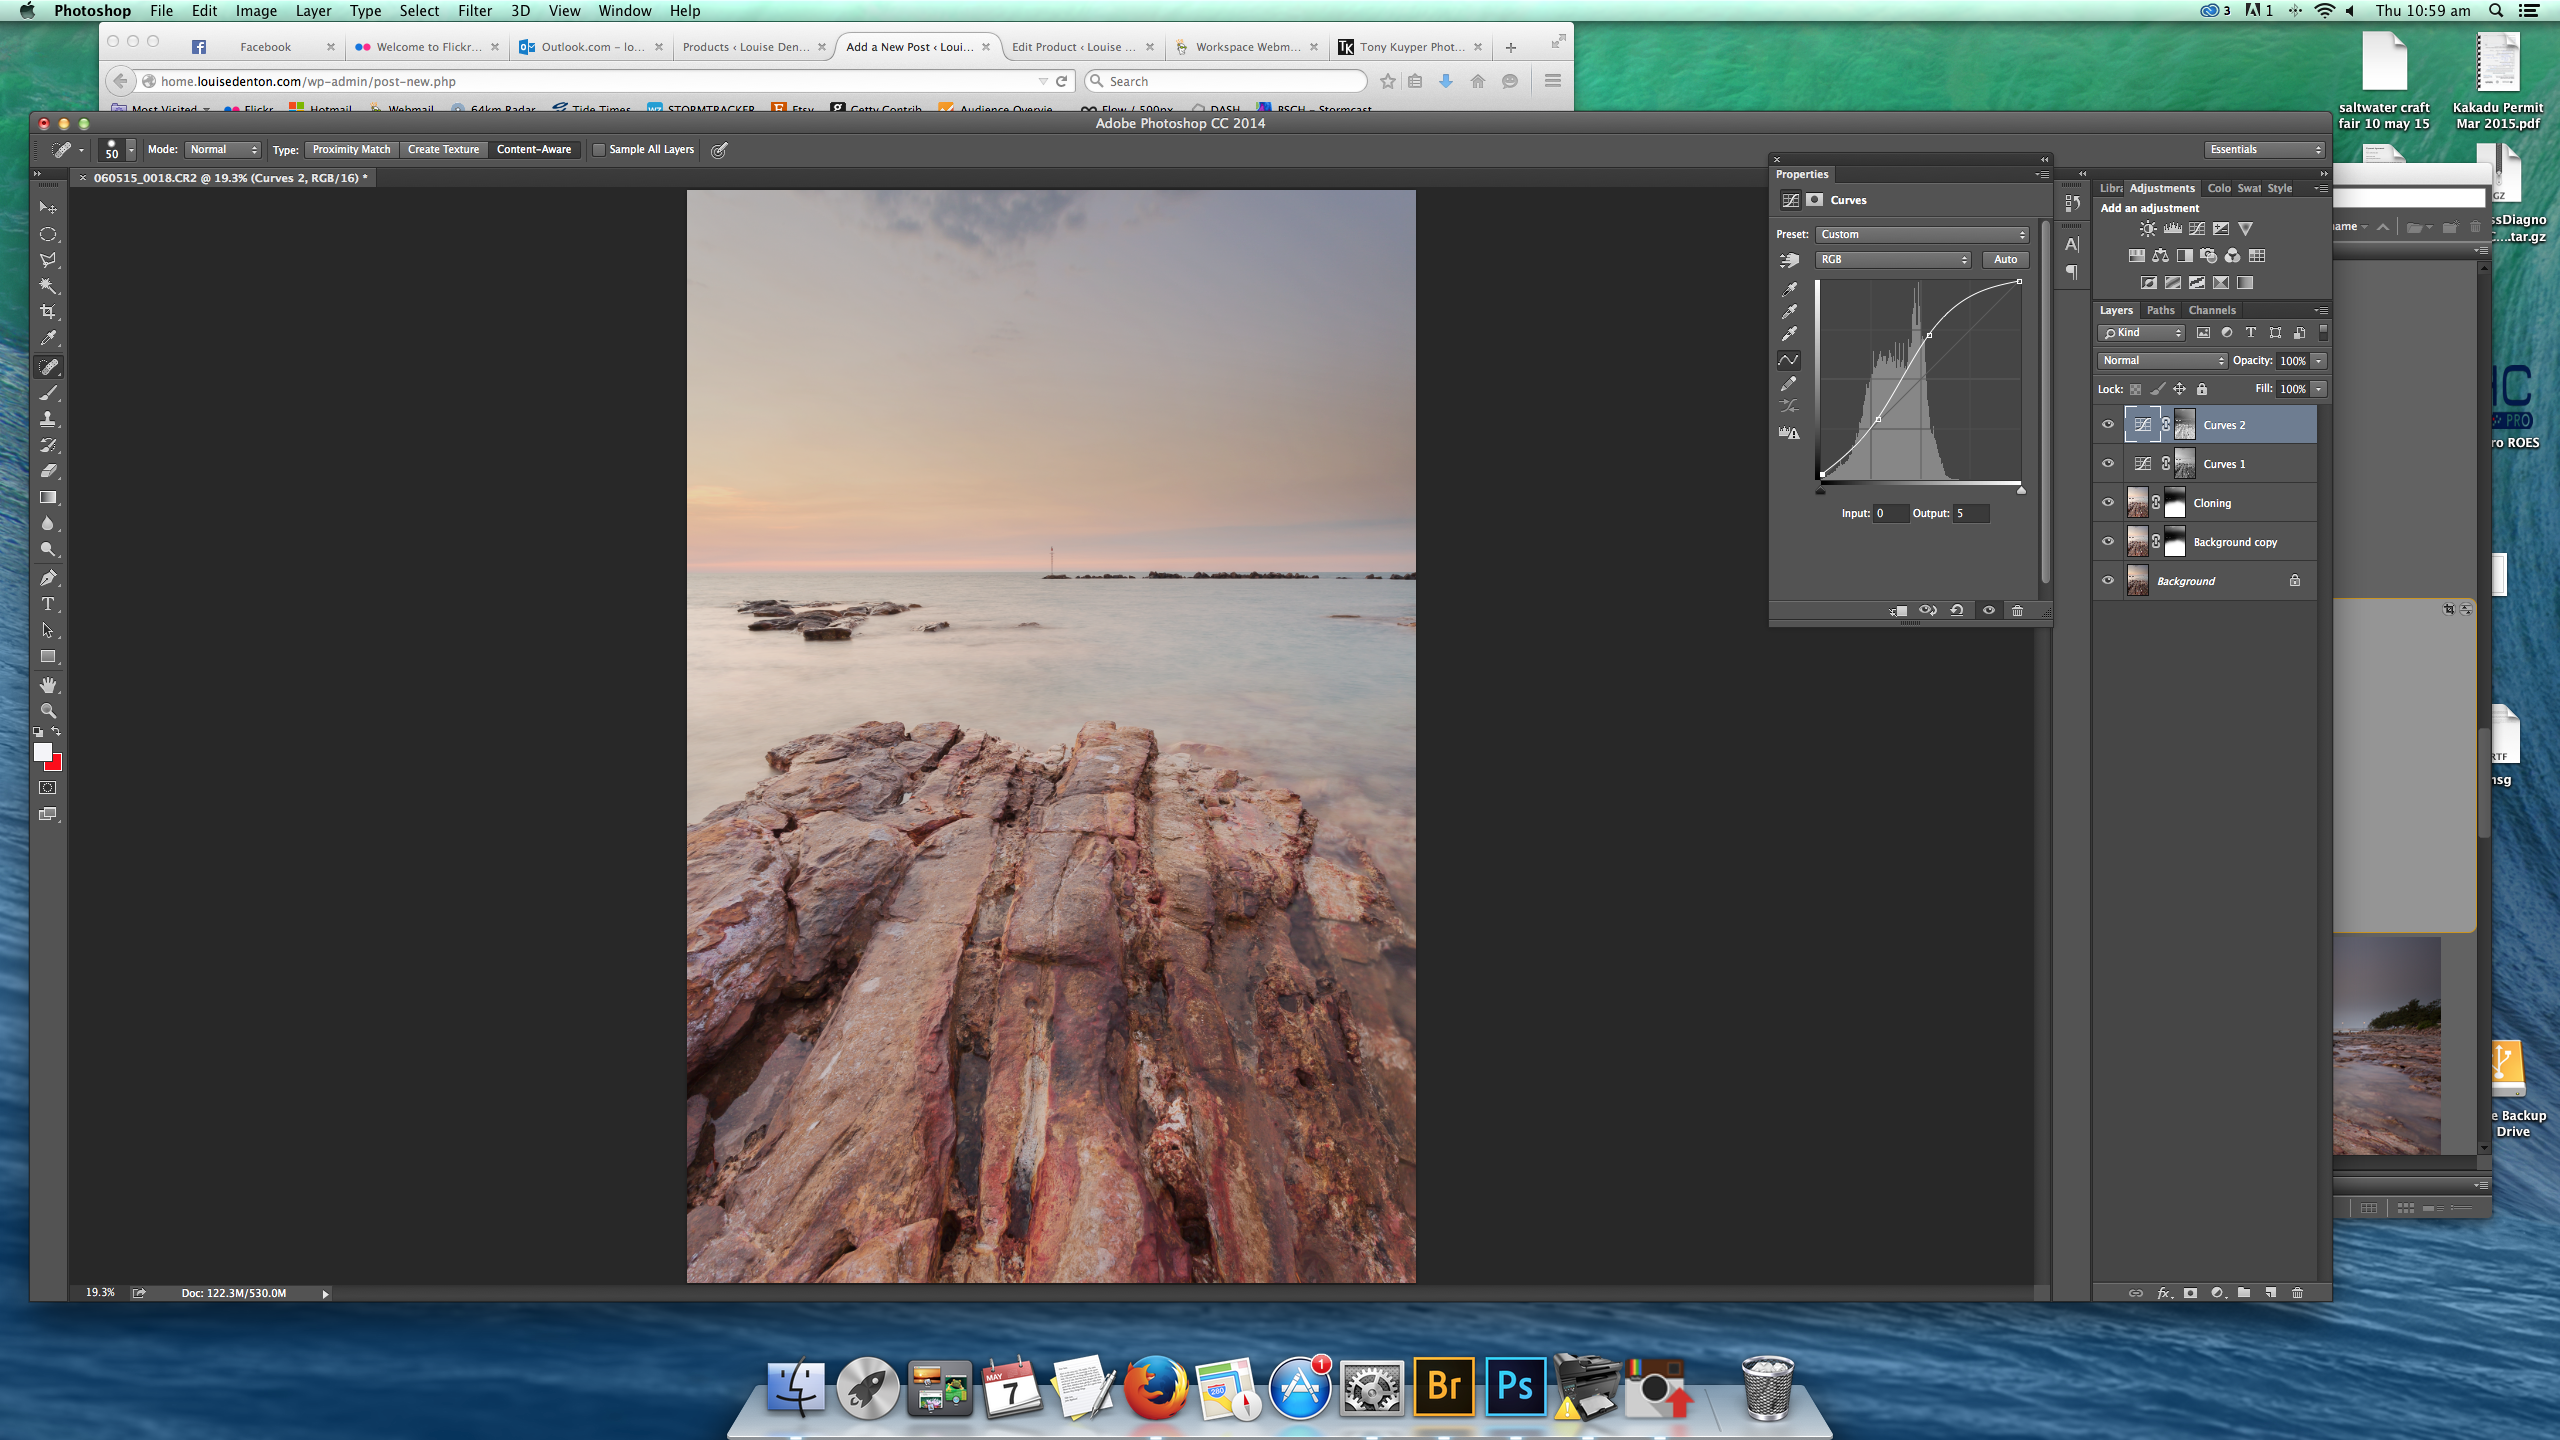
Once I have completed cloning I start adding my adjustment layers. The first is another luminosity mask to bring down the highlights a little. I use the same selection method as the previous mask:
Head to the Channels pane –> drag the RGB layer down to the circle to load the selection
Flick back to the Layers pane —> select a curves layer
You can see my adjustment here:
I then do the same for a curves adjustment of the darker tones in the image.
To select these I press Command+Shift+D to reselect the previous marching ants. Then Command+Shift+I to inverse the selection.
If dragging the RGB Layer in the Channels pane gives a selection of all the lighter pixels in the image, inversing the selection therefore gives the darker percentage of the image.
You can add as many stages of lightness or darkness luminosity masks as well if you need to – check out the in depth tutorial I’ve mentioned before, from Tony Kupyer – http://goodlight.us/writing/luminositymasks/luminositymasks-1.html
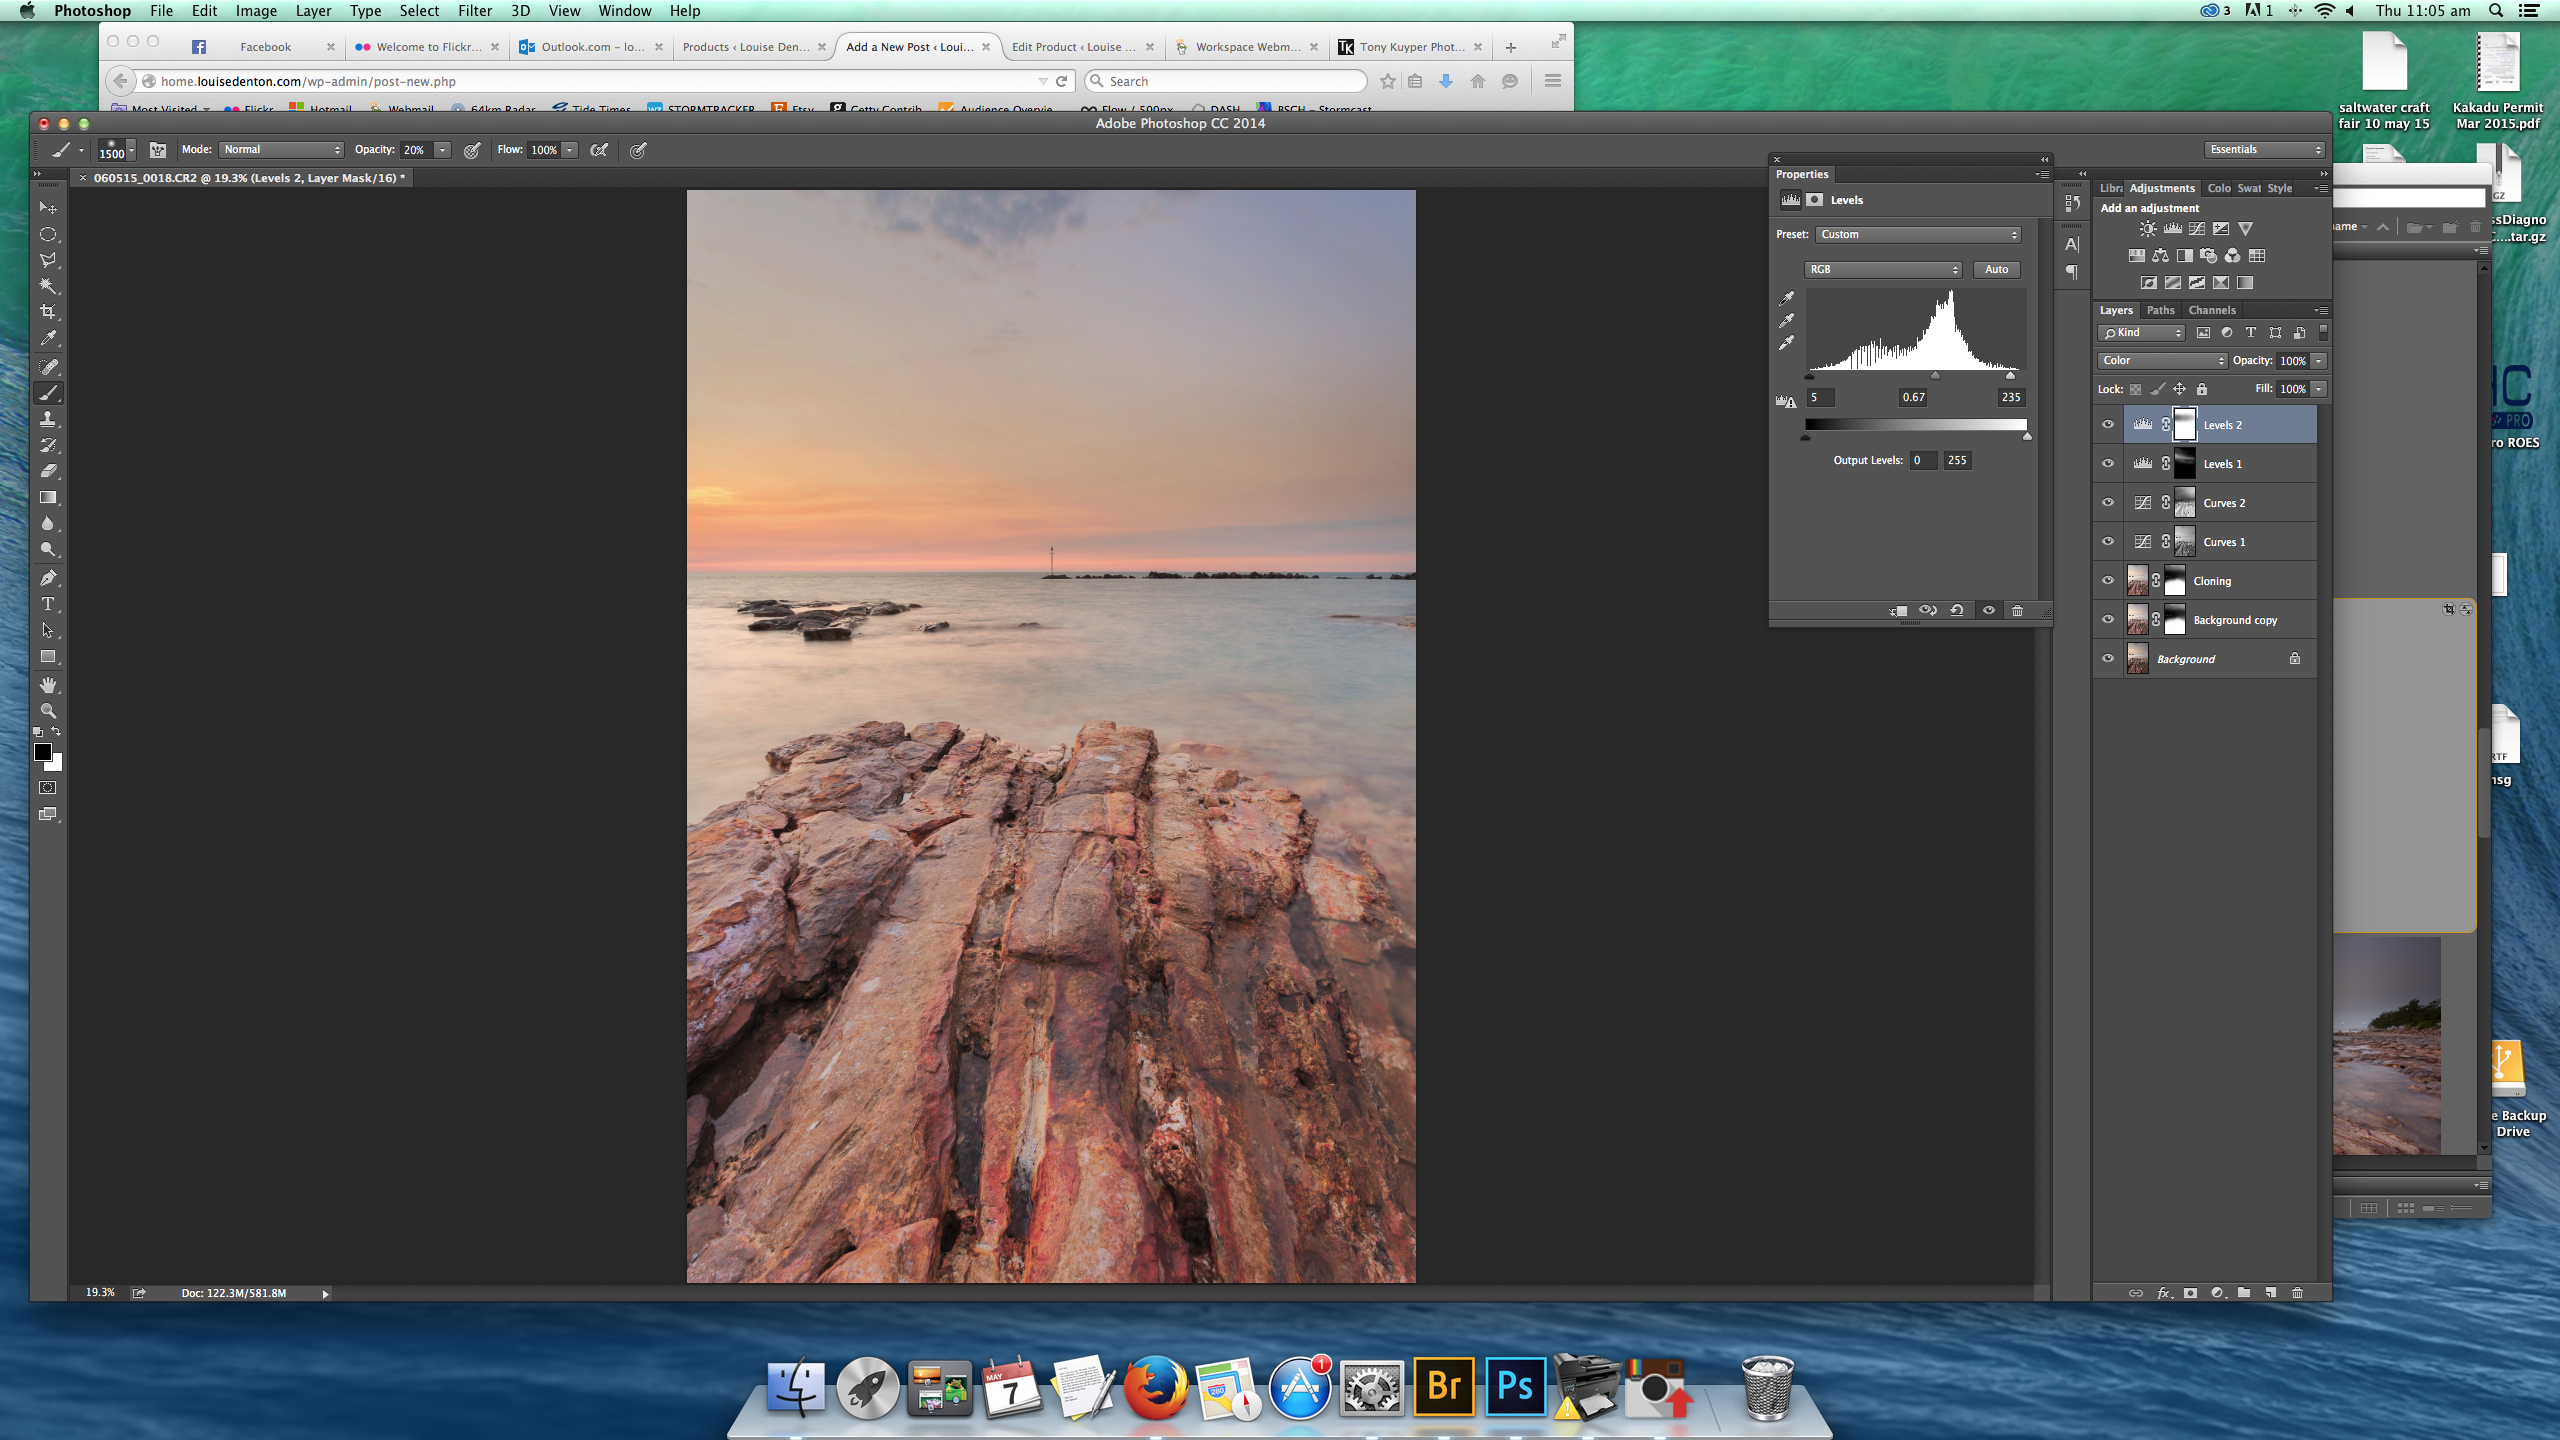
I then add a levels layer just to darken the sky a little:

And a final levels layer with the blend mode of colour:
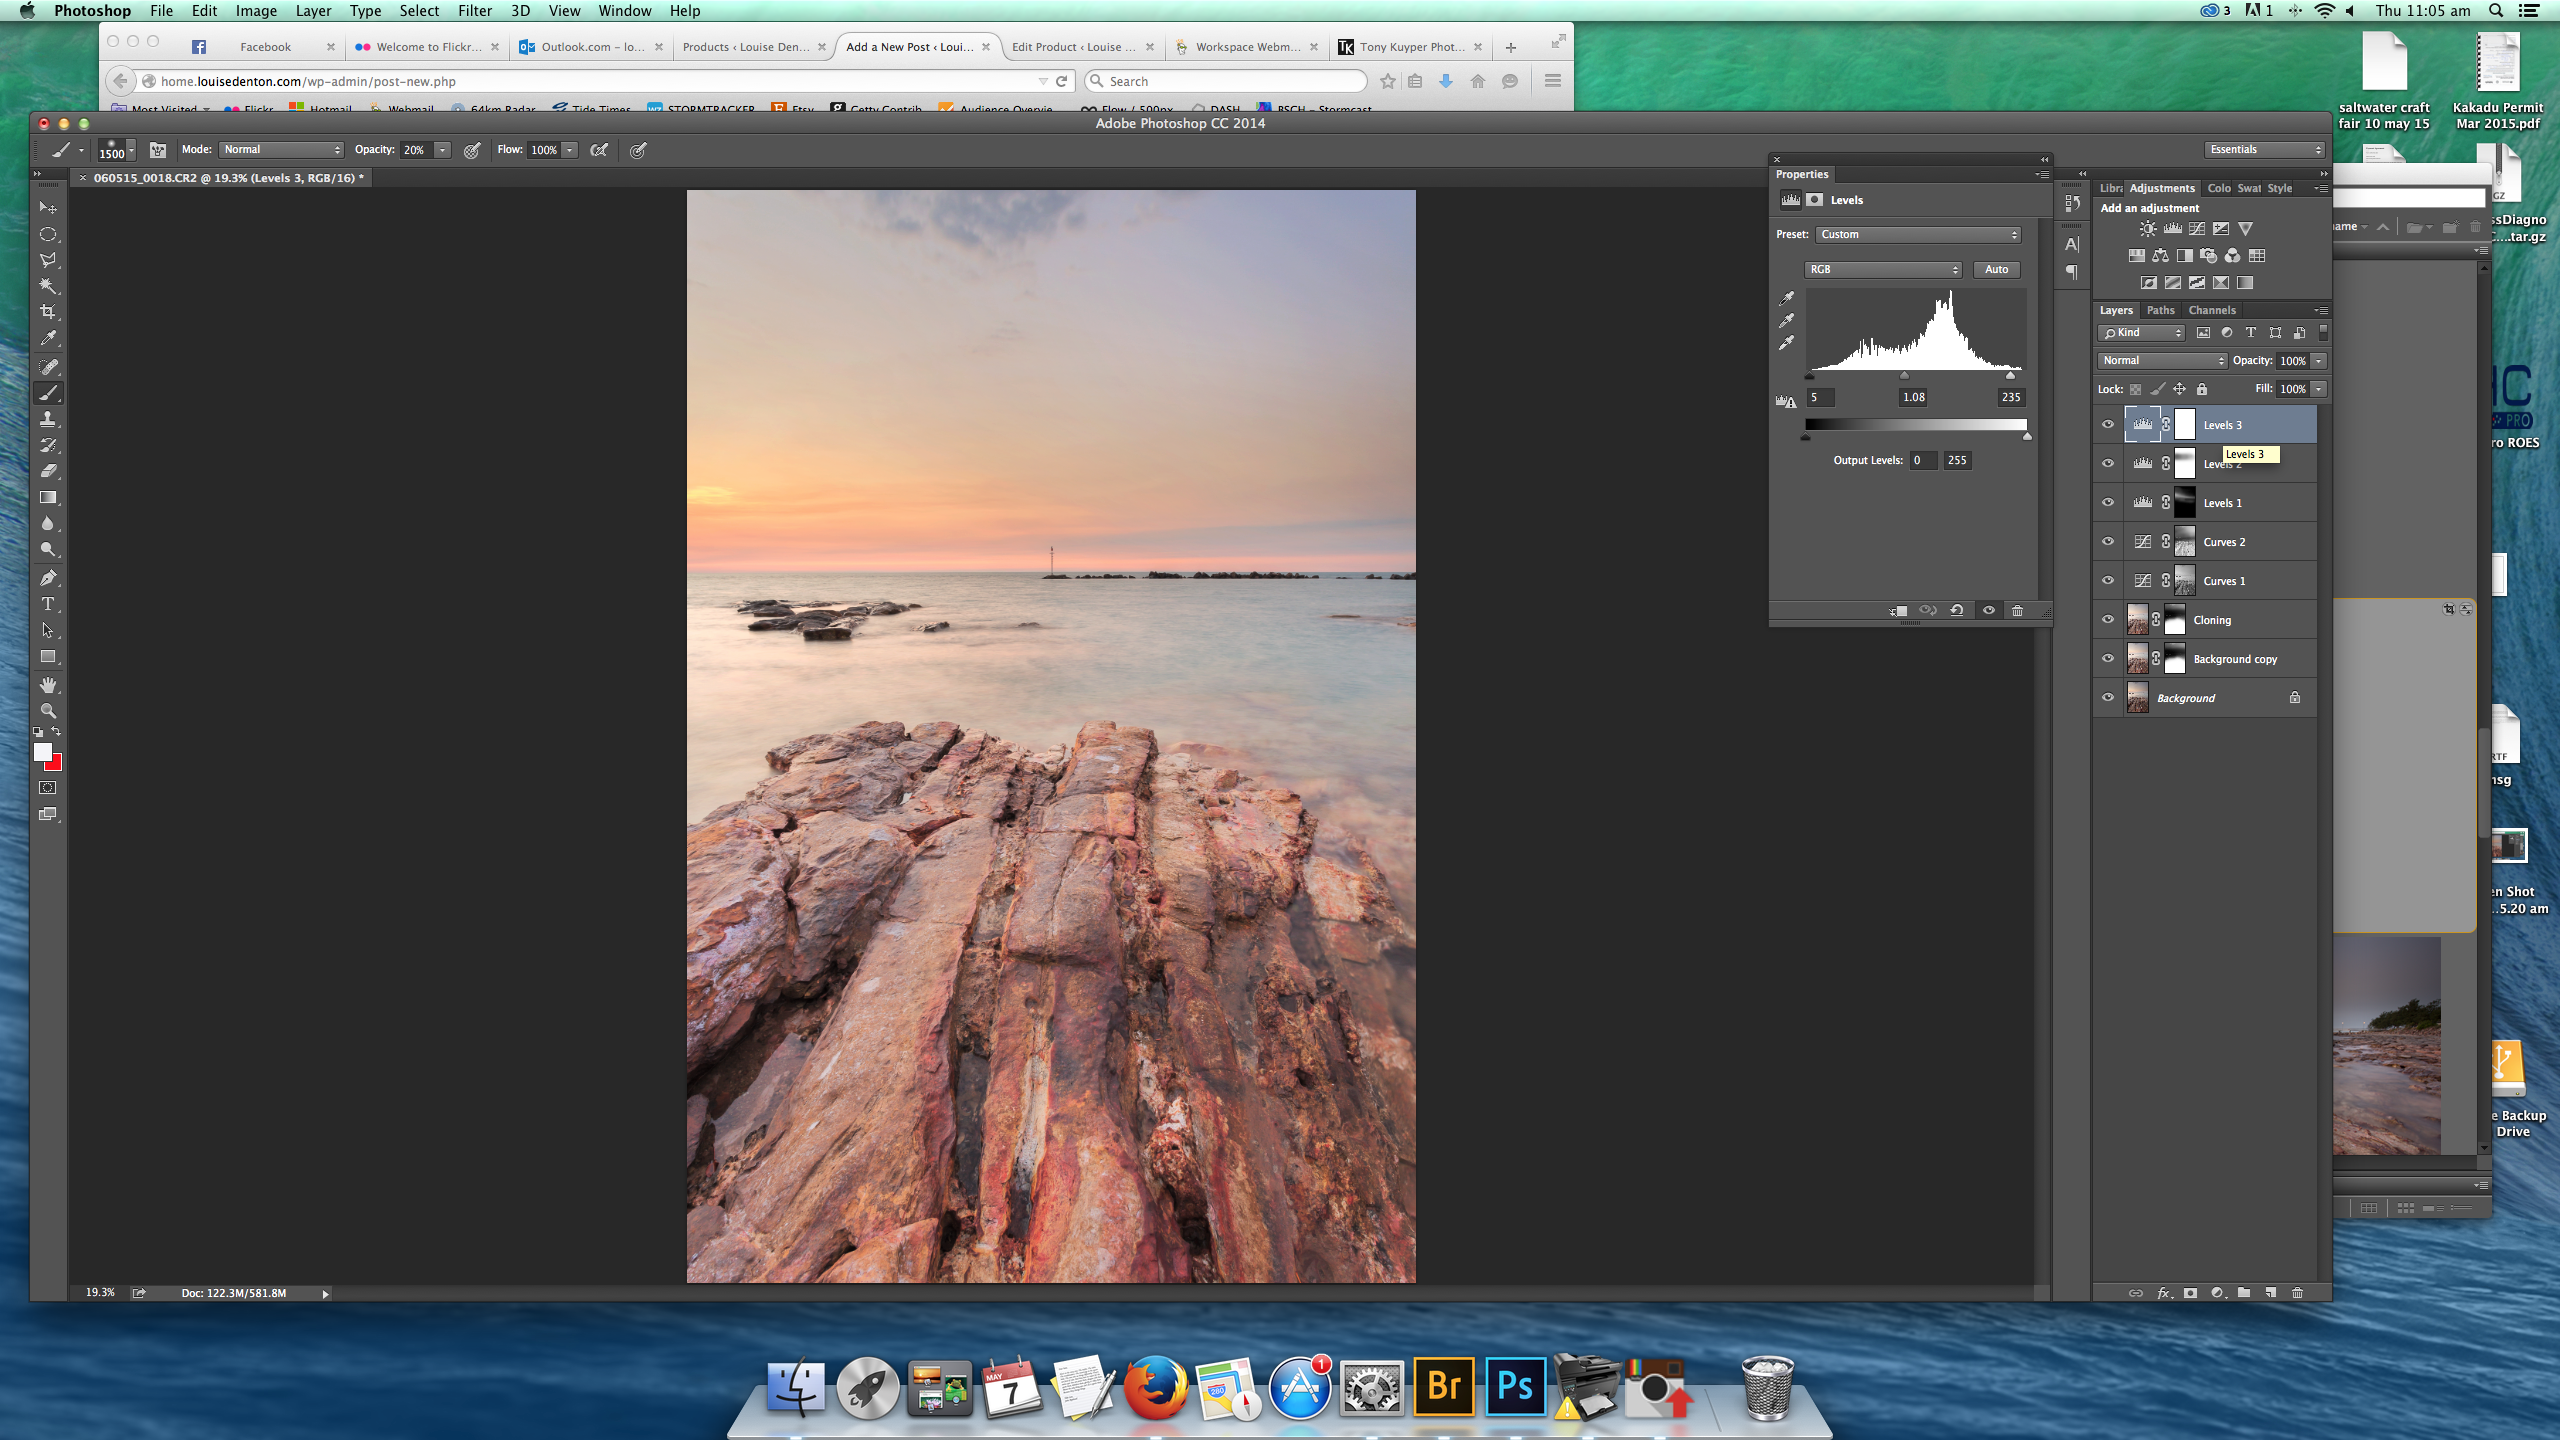
Actually I lied. One more final levels layer just to lighten everything a little more;
One thing I forgot to do at the start was sharpening. To do this, select the Cloning background layer and duplicate it (Command+J). Keeping the new layer selected (I layered mine “sharpening”), select Filter –> Other –> High Pass:
Usually for an overall basic sharpening I would use a High Pass setting of around 6 or 7. Usually then I would also apply a layer mask to mask out the sky and other areas that don’t need to be sharpened. In this instance I already have my layer mask applied mainly for the rocks. And because I want to show the texture and detail in the rocks I’ve set the level to 15 points in this one. And I can reduce the opacity and change the mask with the brush later.
You’ll notice your image turn grey. That’s normal – you just need to change the blend mode of this layer to “soft light”.
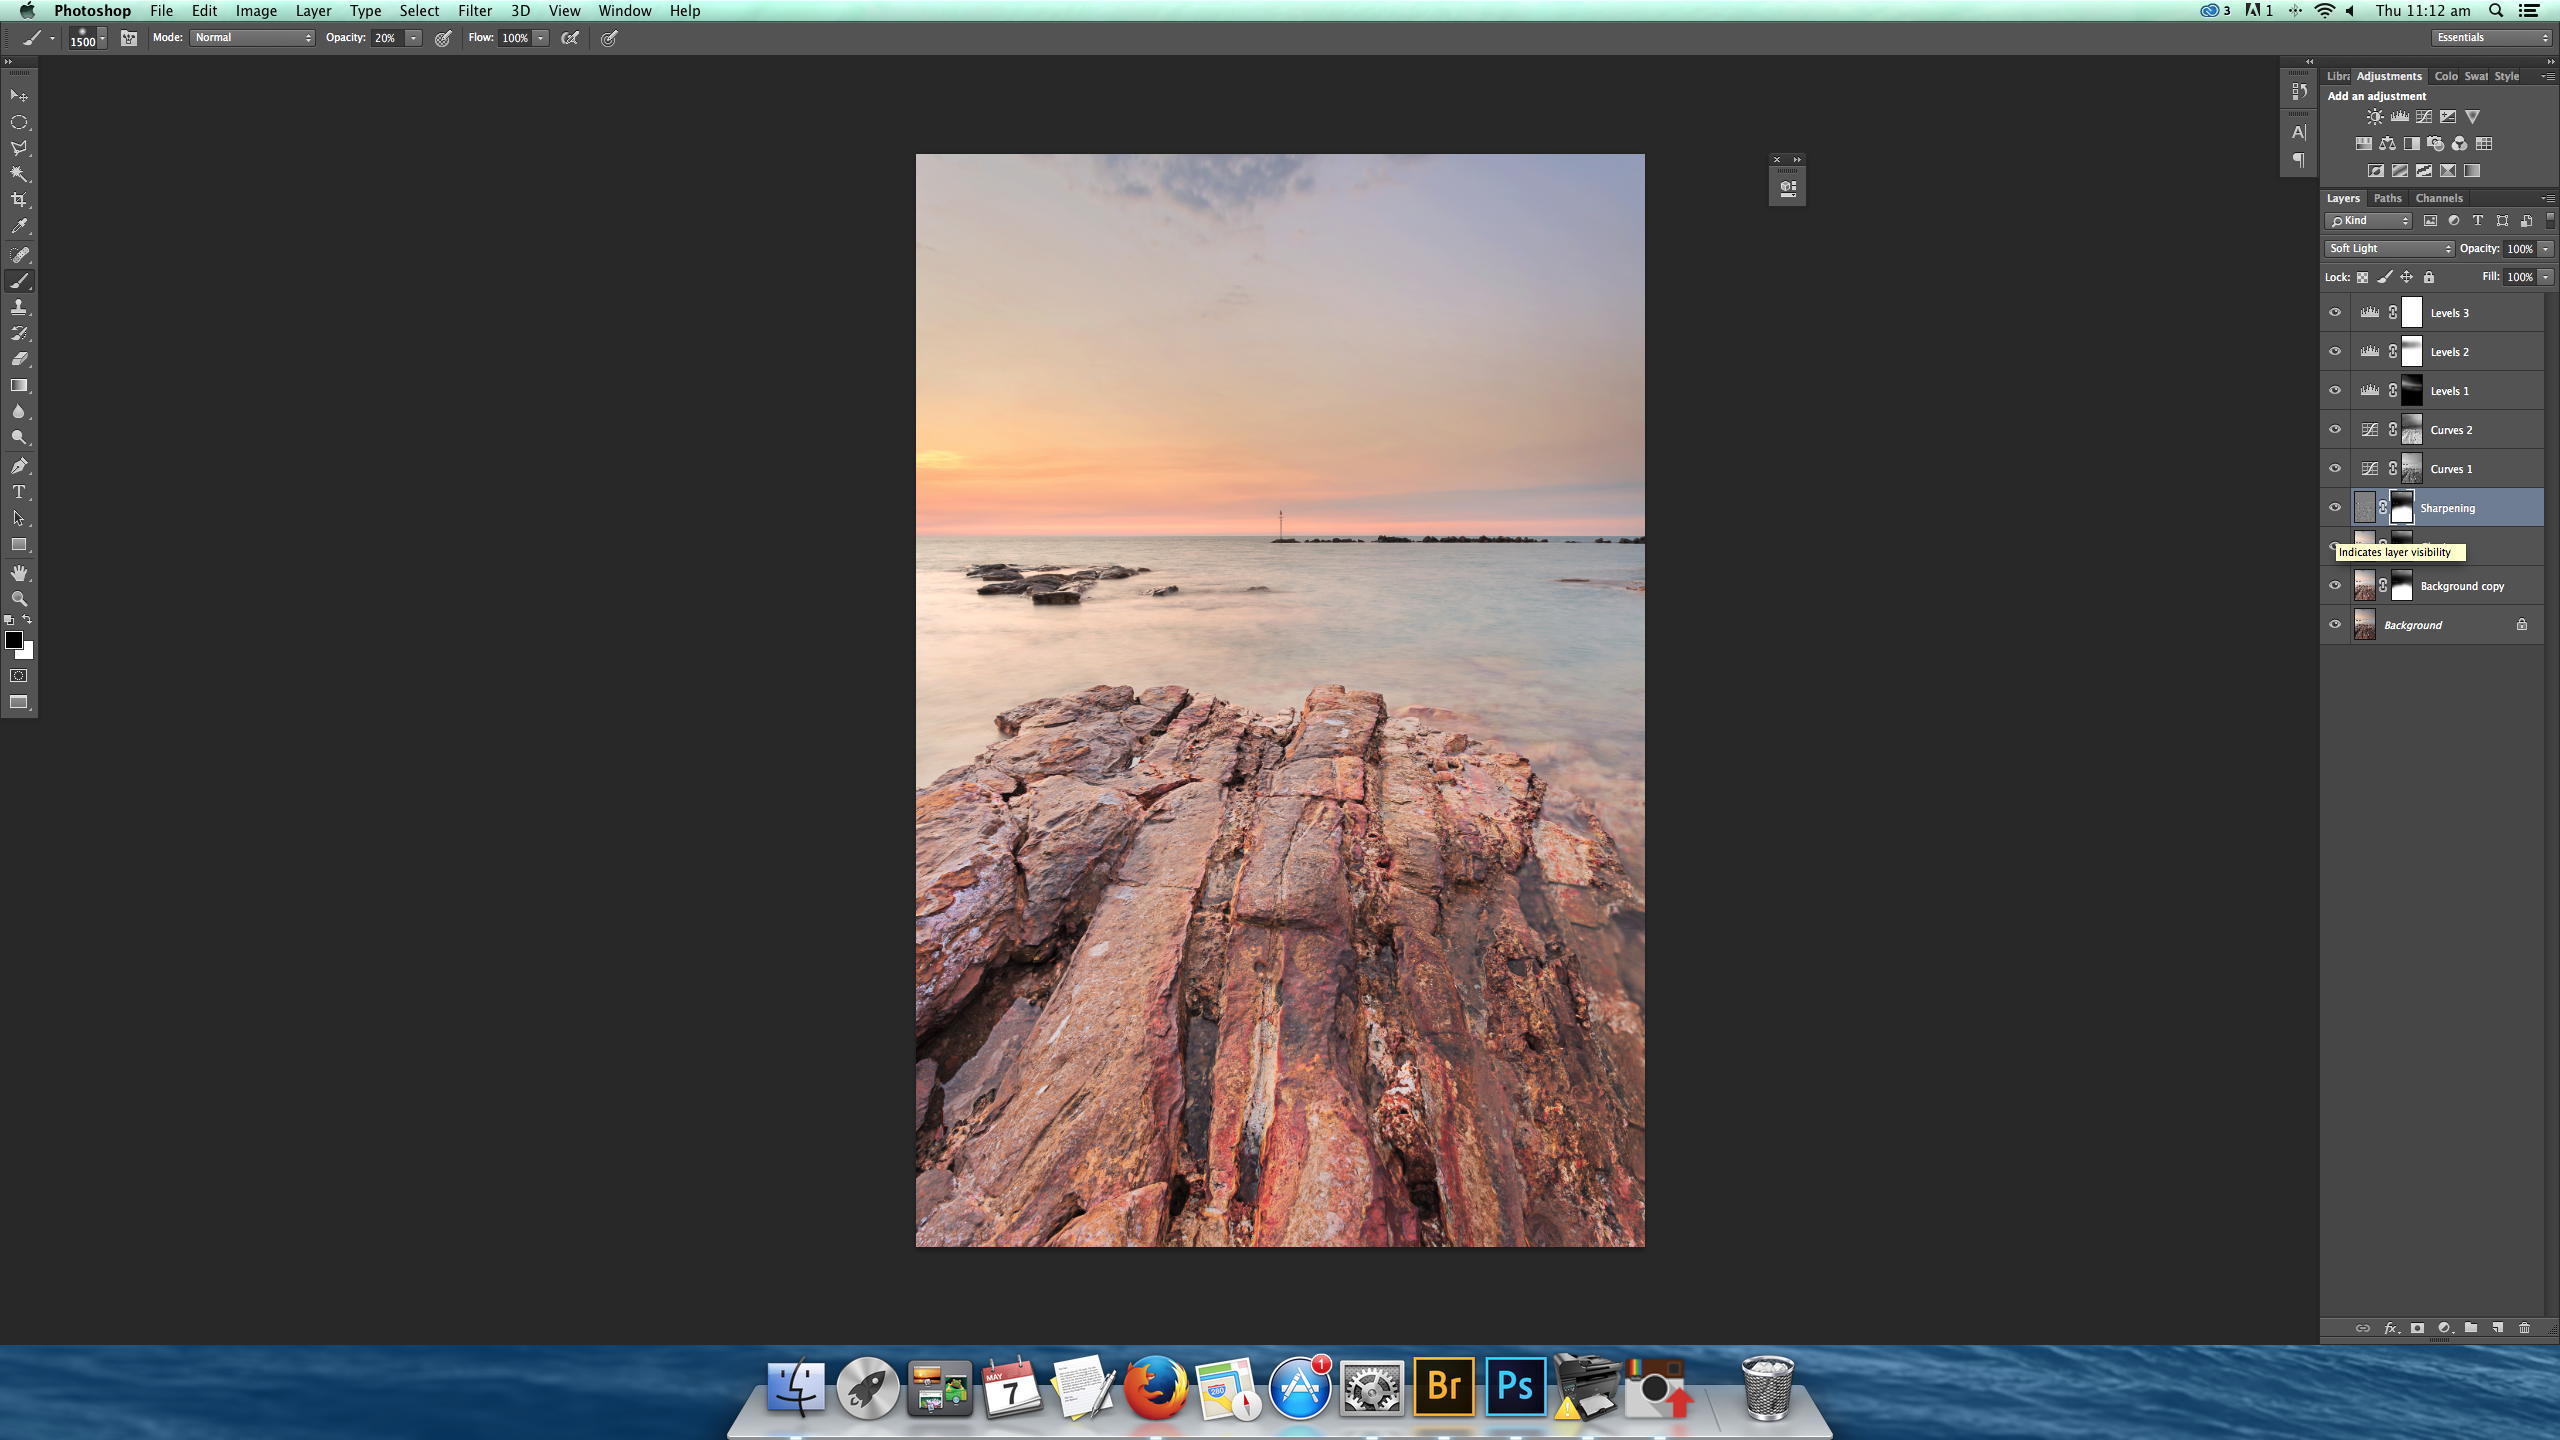
For my taste the effect of the sharpening is a little too much, so I painted with a 20% opacity brush (with black) to hide some of the too-sharp areas. I also reduced the opacity of this layer to 80%.
I think that’s it! Playing around with crop is usually the last thing I do.
Here’s the full width version compared with the original RAW file:

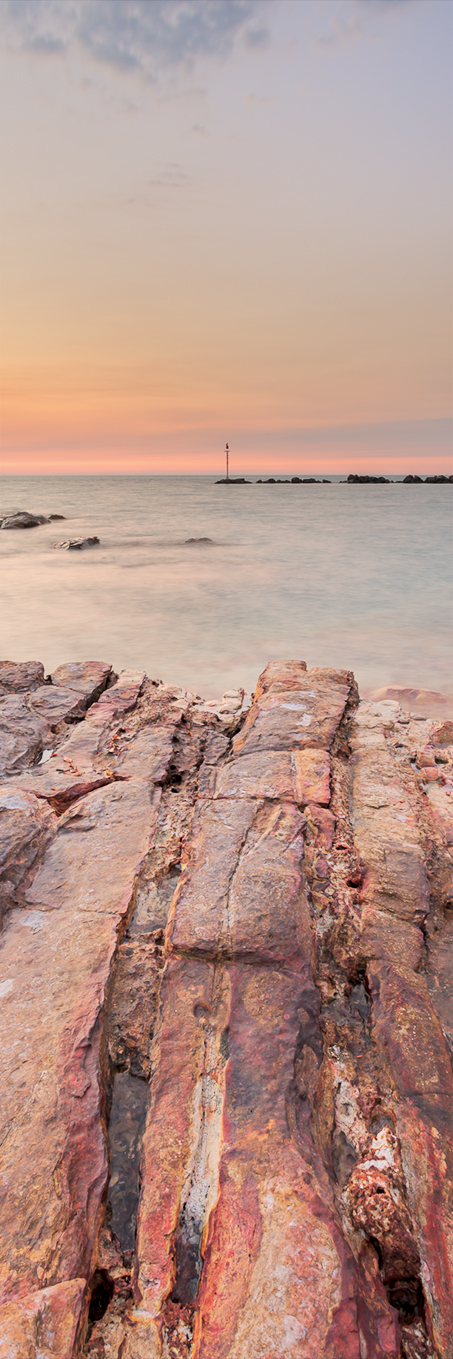
But I think I like a tall skinny crop better:
My final product….
Would love to hear what you think!
Do you also blend your exposures and have anything to add?