
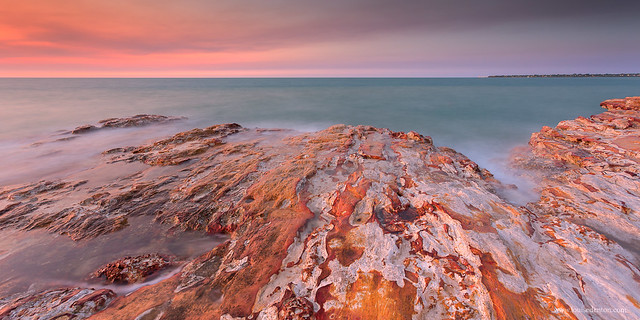
I’m going to do a short step-by-step work-through of what processing I did…
to achieve this image:
If you are a newbie to Photoshop, I recommend you take a quick look at my recent blog on what Photoshop Masks are. They are one of the most important parts to my photo-editing techniques, and if you don’t understand how a layer mask works the rest of this work flow mightn’t make too much sense.
The explanation of layers and masks can be found here: http://www.louisedenton.com/what-are-masks/
STEP 1
As I shoot in RAW, the first step with all of my images is to open the file in Adobe Camera RAW.
This is a very easy part of the Photoshop package to use, it’s a series of sliders and you can see the immediate effects of your actions on the image.
Here you can see on the right, the sliders. I have darkened the highlights here, but that’s the only slider I have changed.
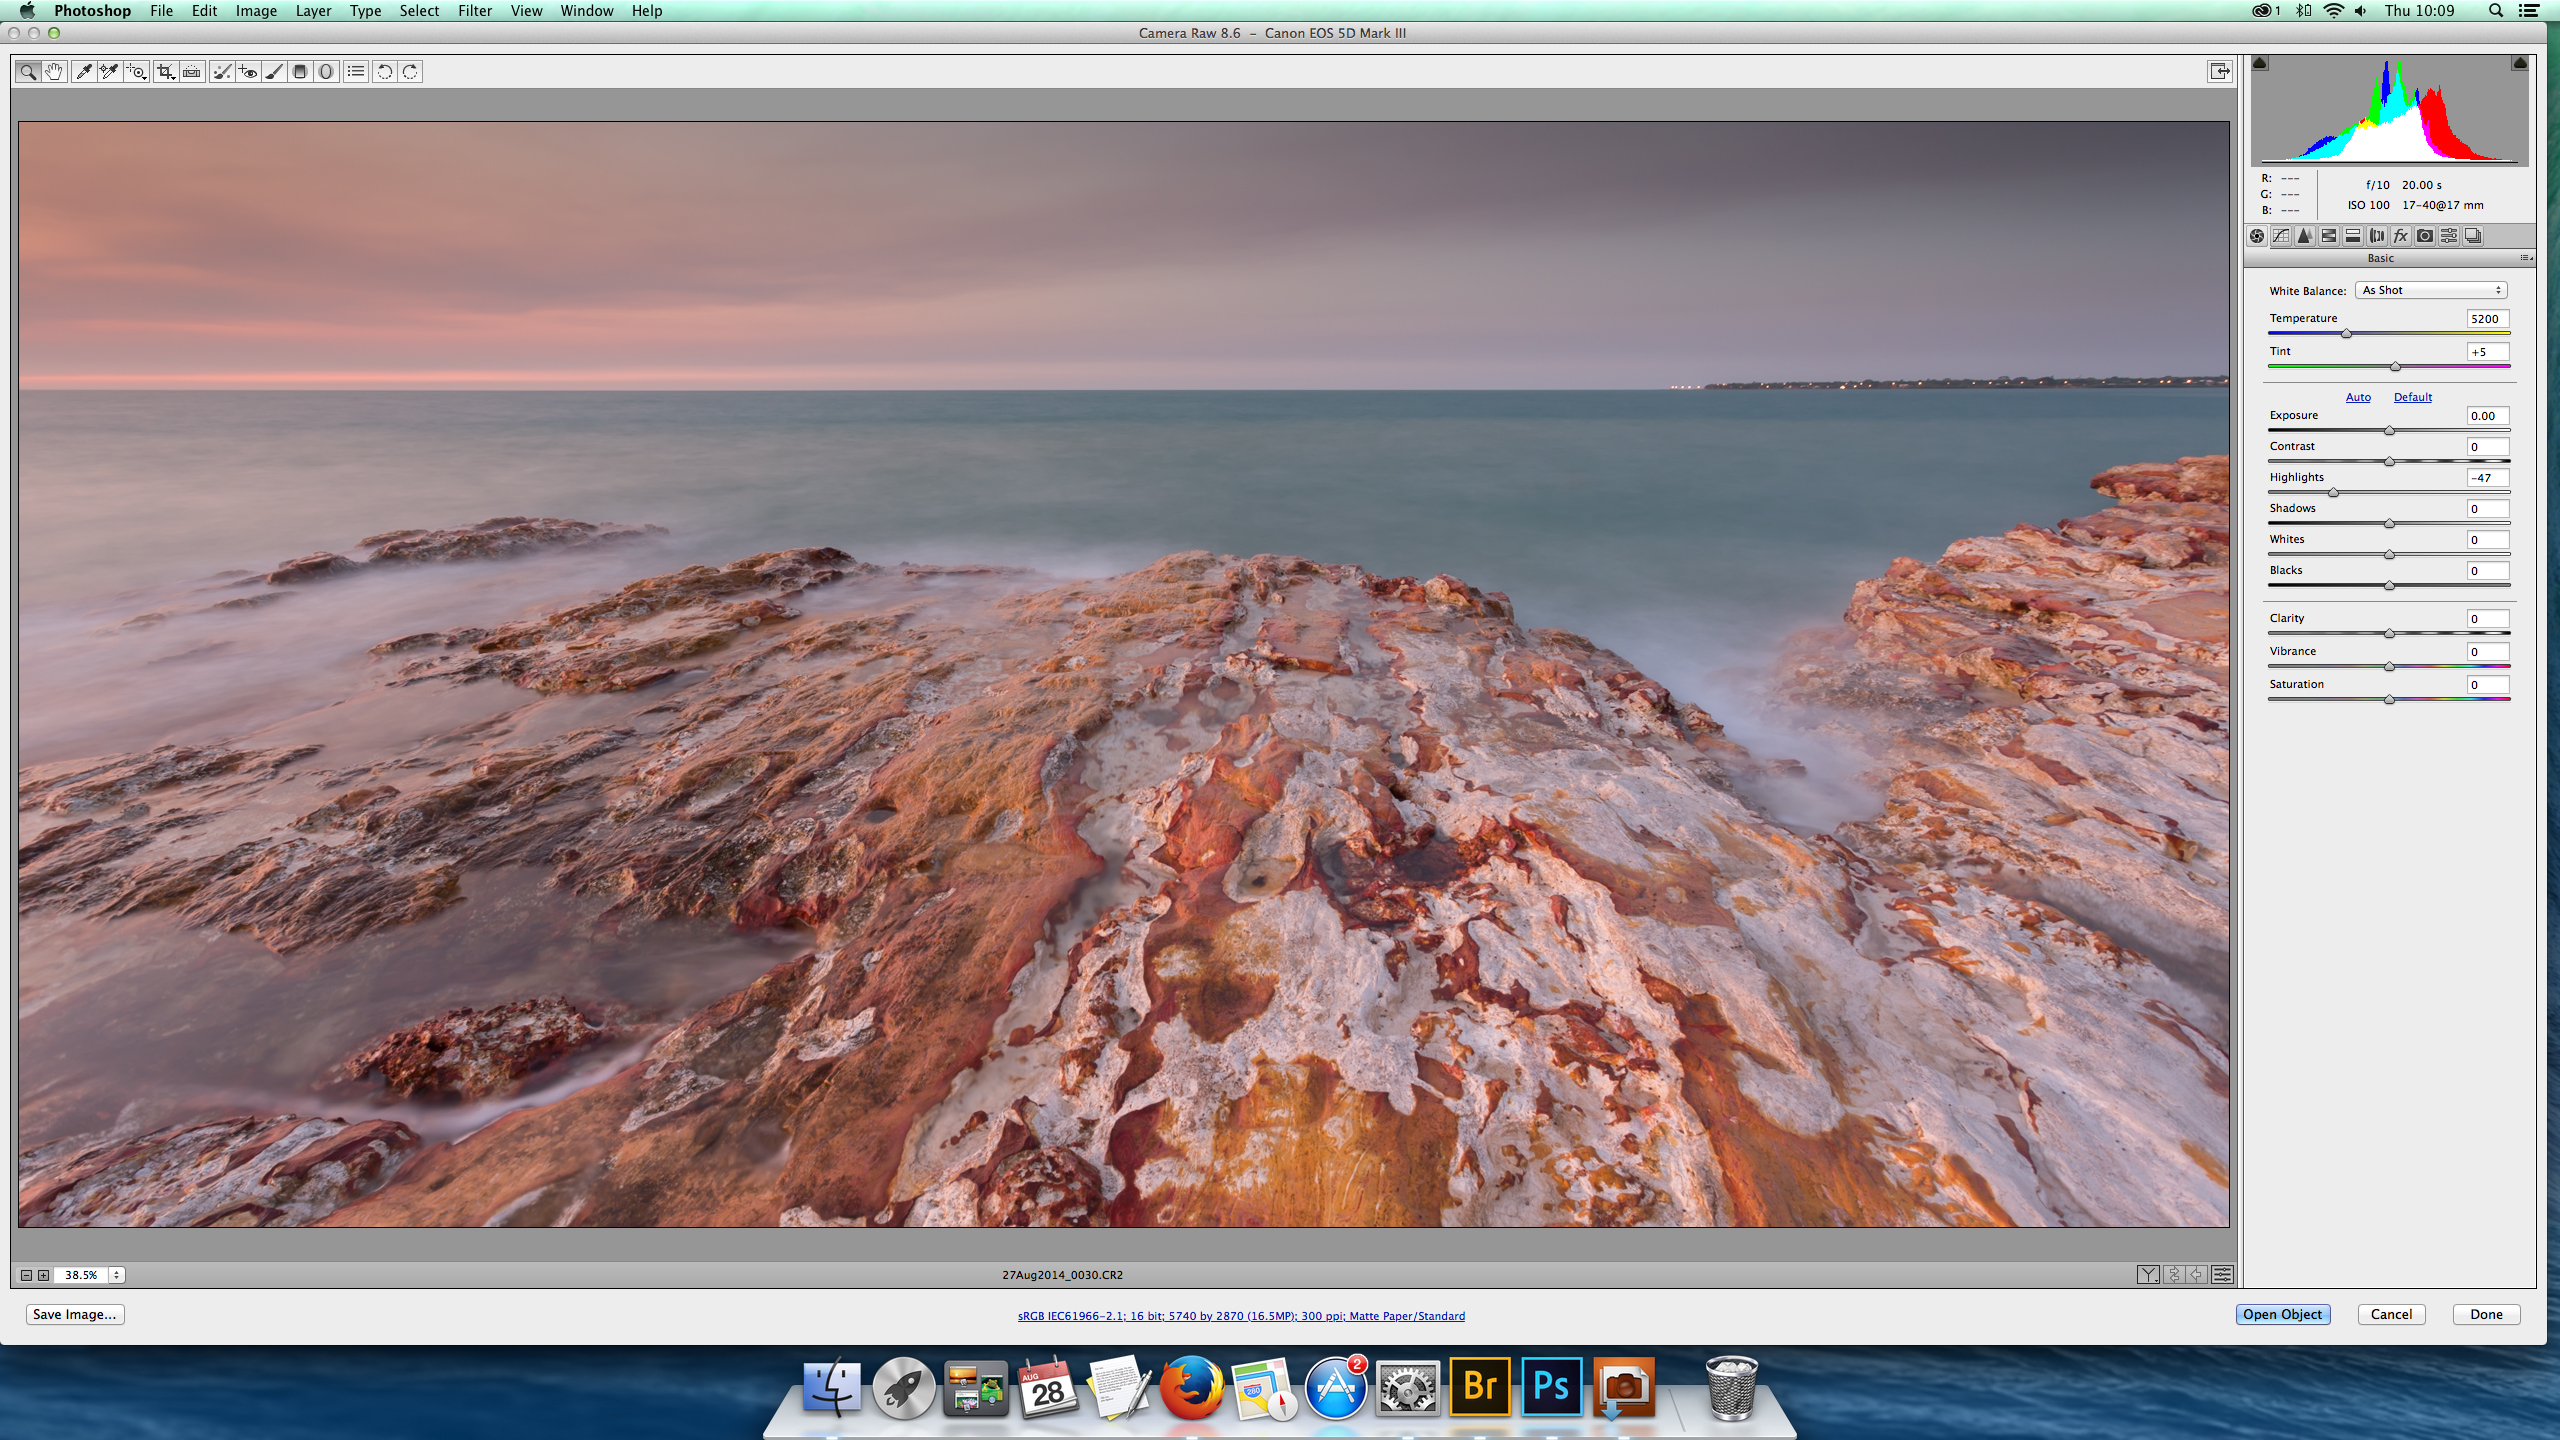
This RAW file I have cropped to a 2:1 ratio panorama. When shooting this I always intended the image to be a 2:1 and not the normal 3:2 which comes out of the camera. The rocks where better suited to the narrower panorama format, in my opinion, leading out to the ocean and emphasising their patterns and lines.
In future, the next time I do another image walk-through, I’ll take the screen shots with each step as I am actually doing the photo. This time I have gone backwards so there are certain steps I’ll presume you can find and do without me showing them!
In the above file, as with all of my RAW files, I have also corrected the lens distortion and straightened the horizon. I have also sharpened a little.
STEP 2
Open the file in Photoshop! Apply sharpening.
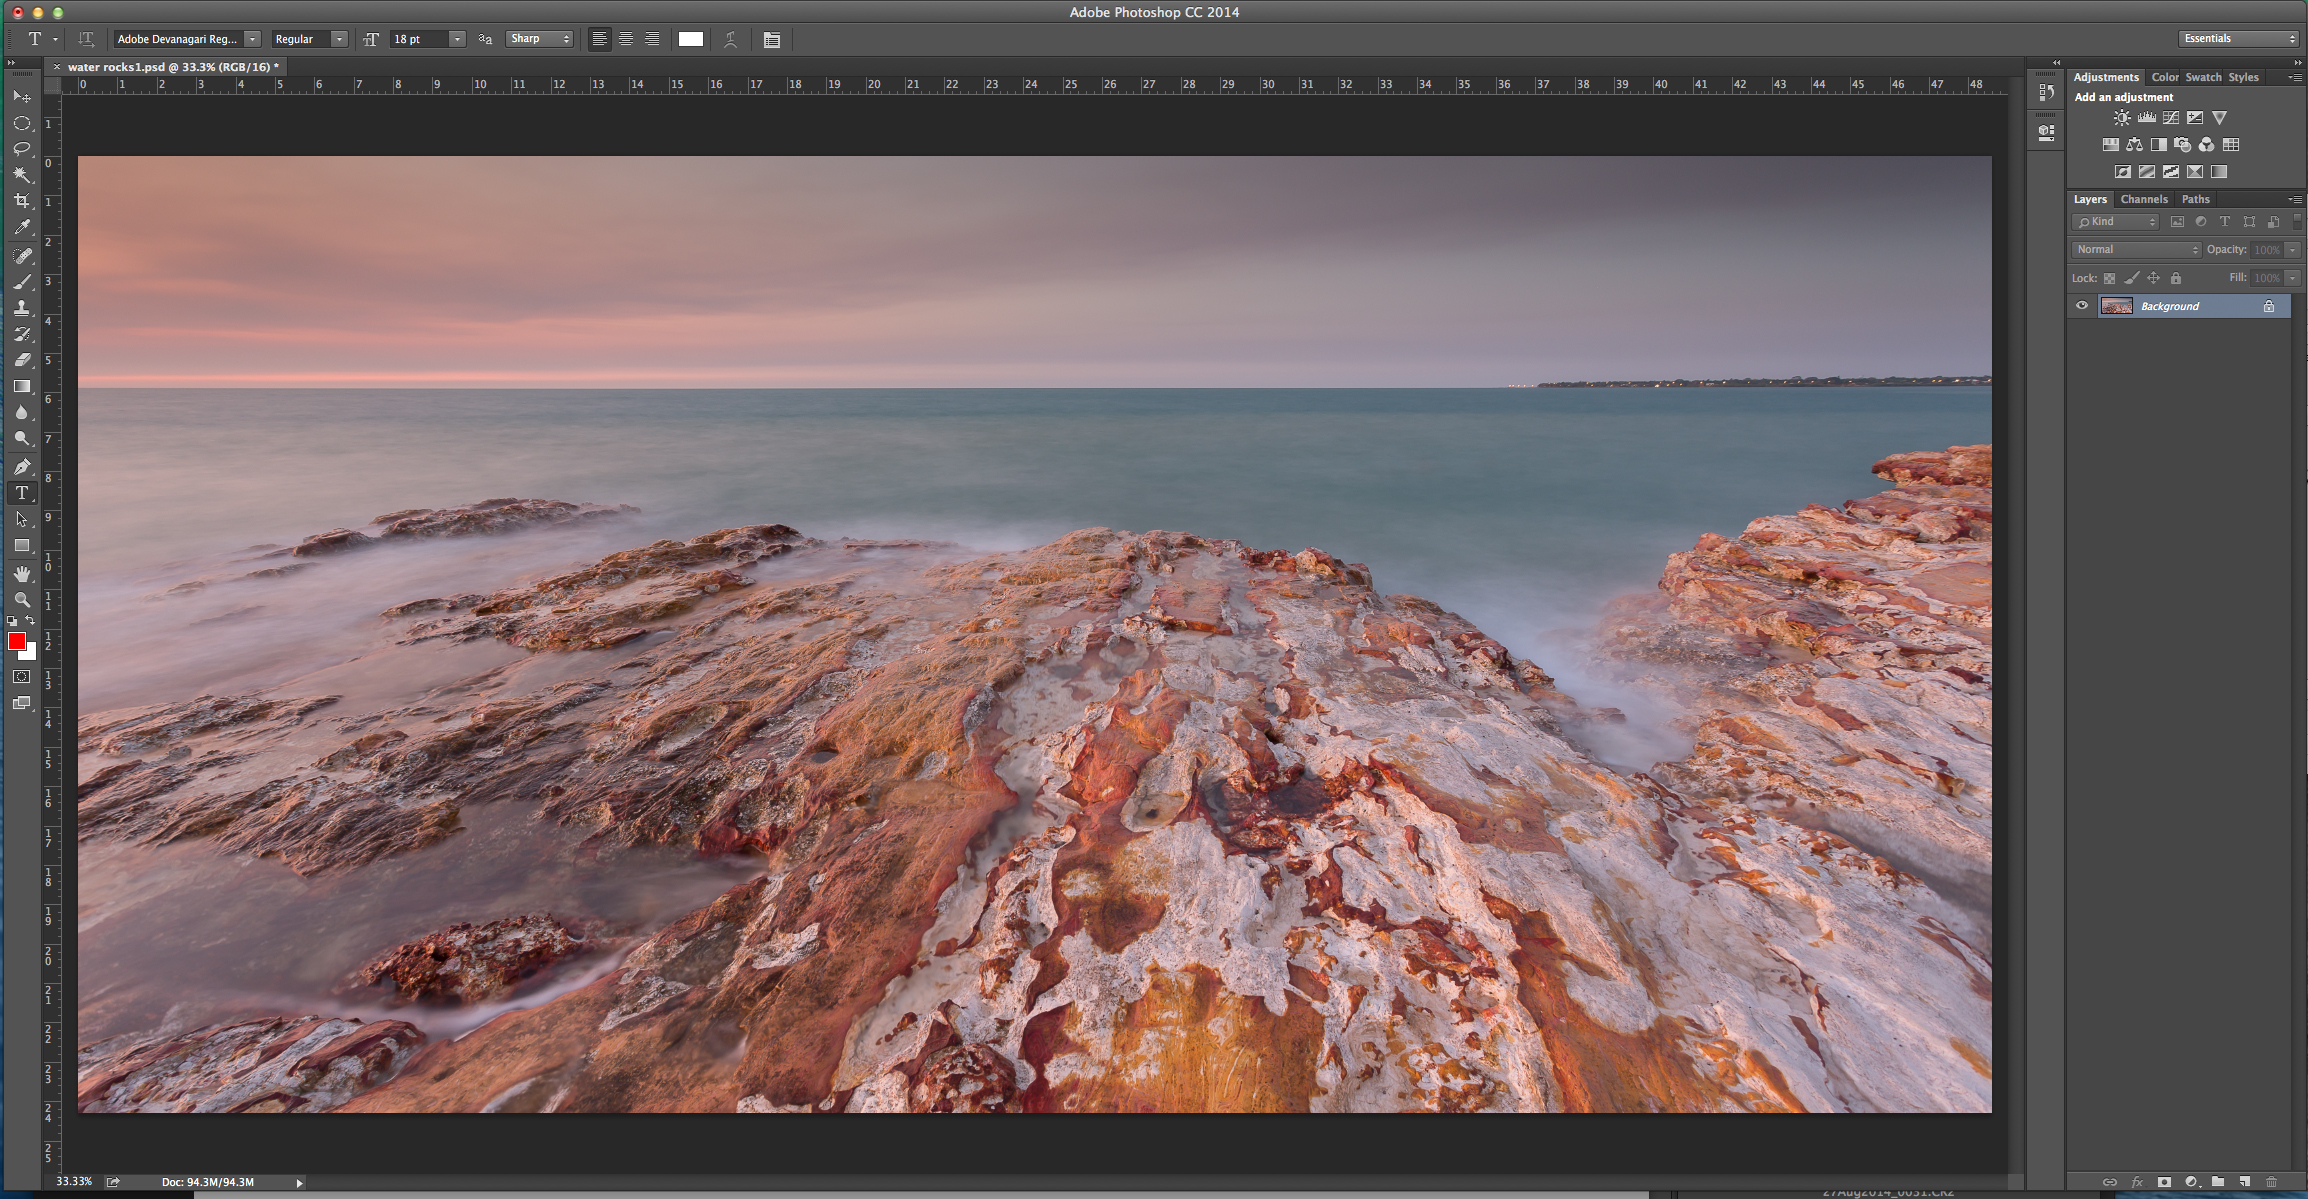
The first layer I apply to all of my images is the High Pass layer. This is a way to apply sharpening to your images.
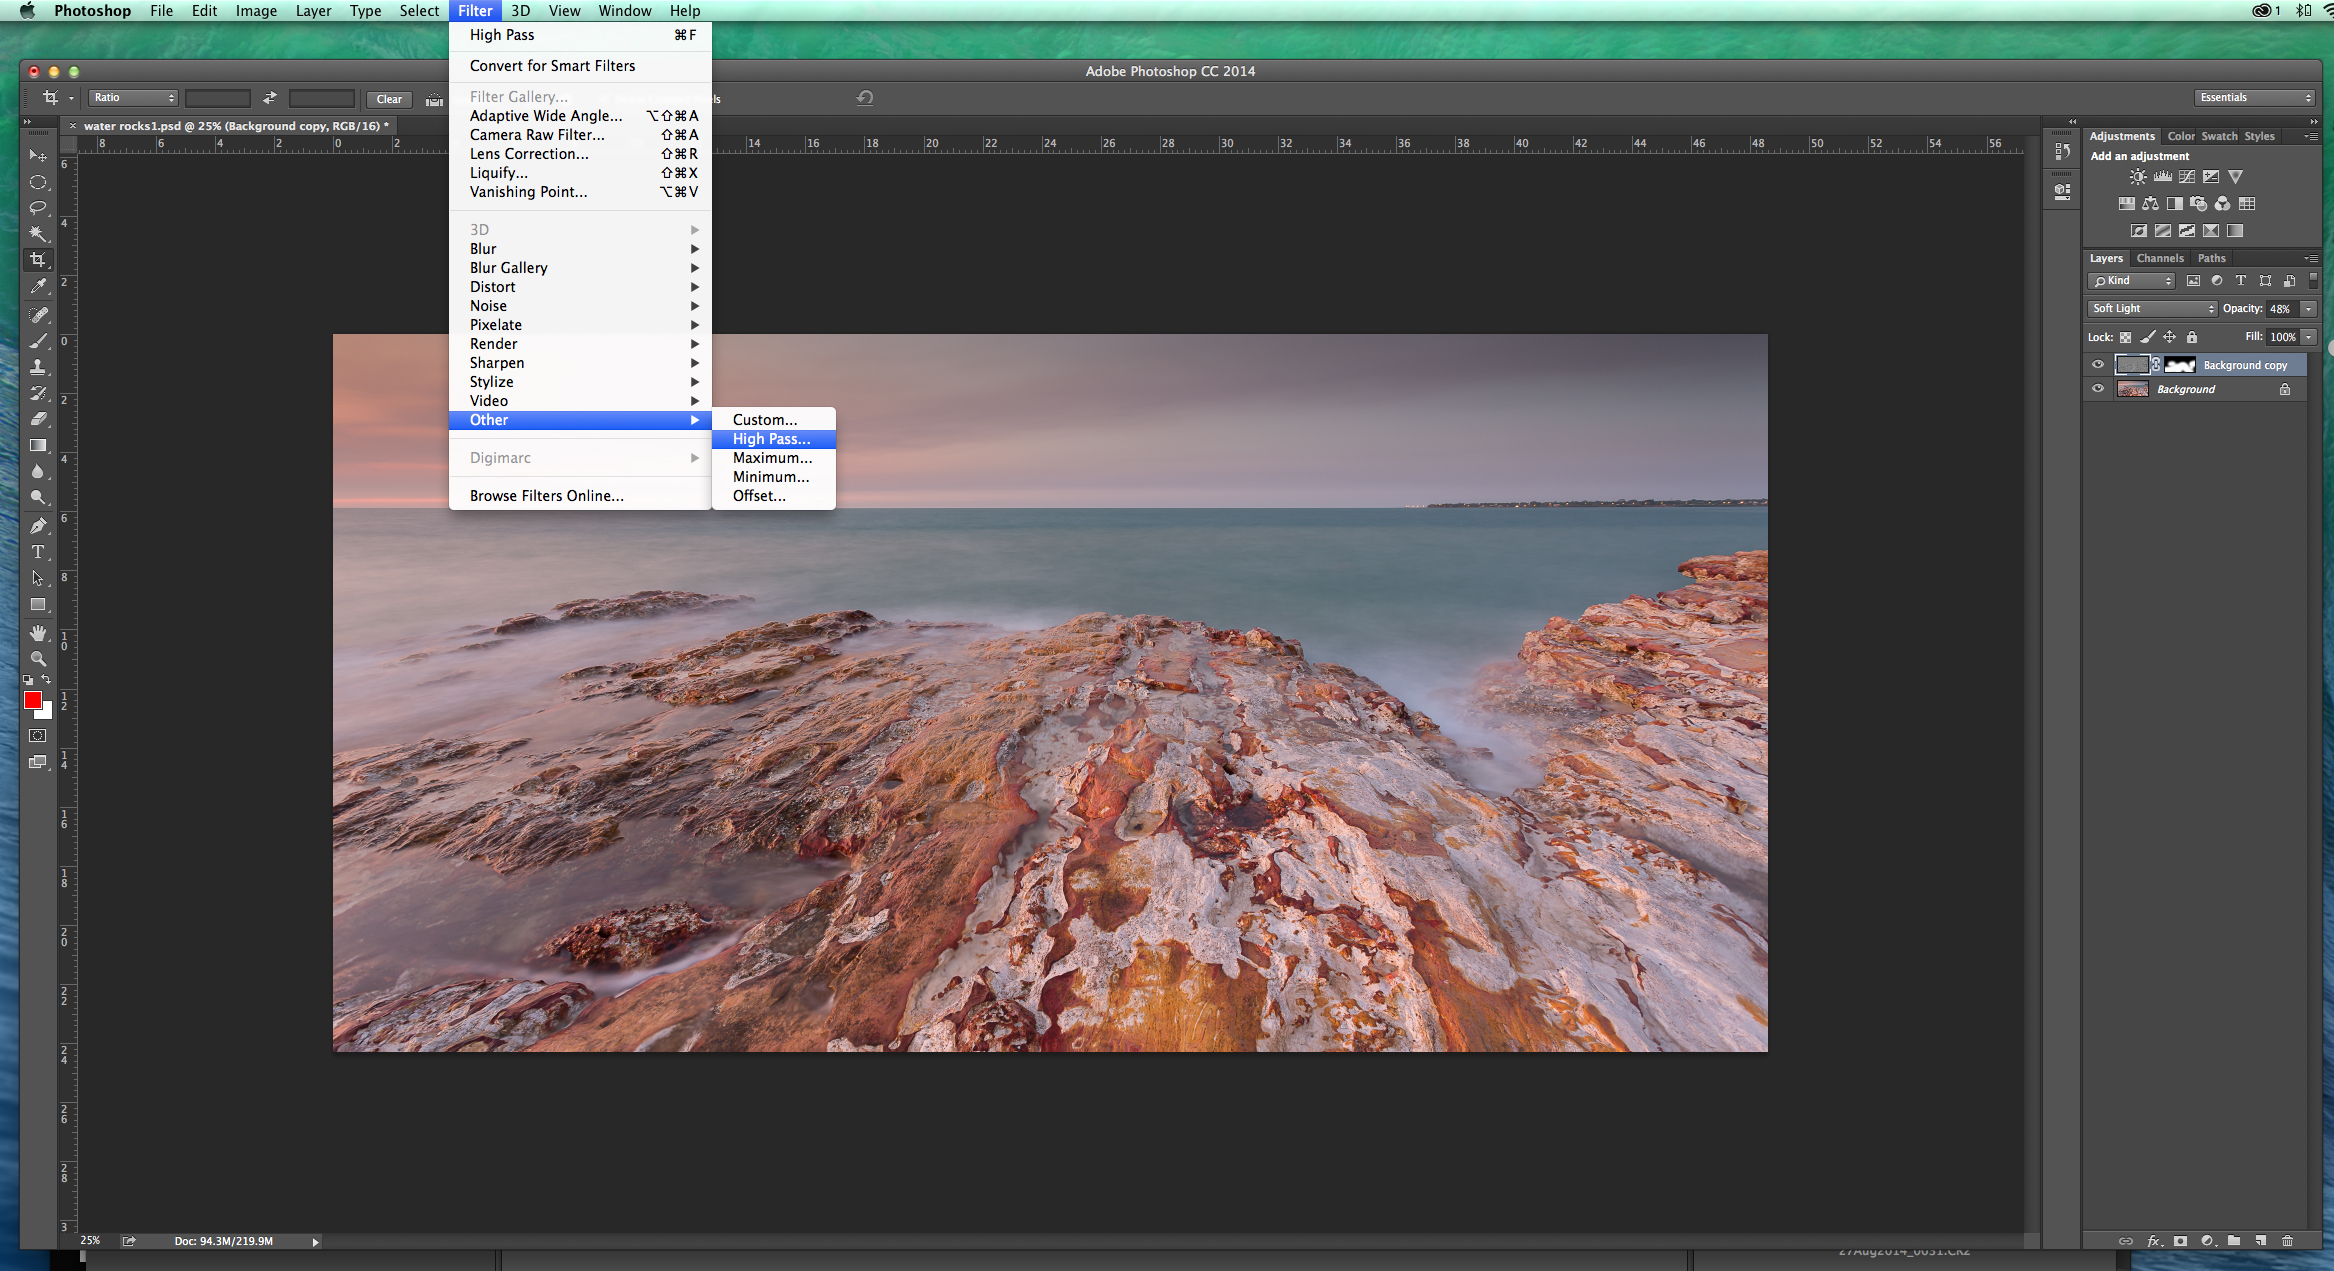
1. Duplicate your Background layer by selecting it, and pressing Command J or Control J (I use a Mac, but if you use a PC, just substitute Command for Control).
2. Select Filter –> Other –> High Pass (as shown below).
3. I usually select around 6 or 7 on the dialogue box that pops up.
This will render your entire image as grey. Don’t worry, that’s normal! Just change the blending mode as shown below:
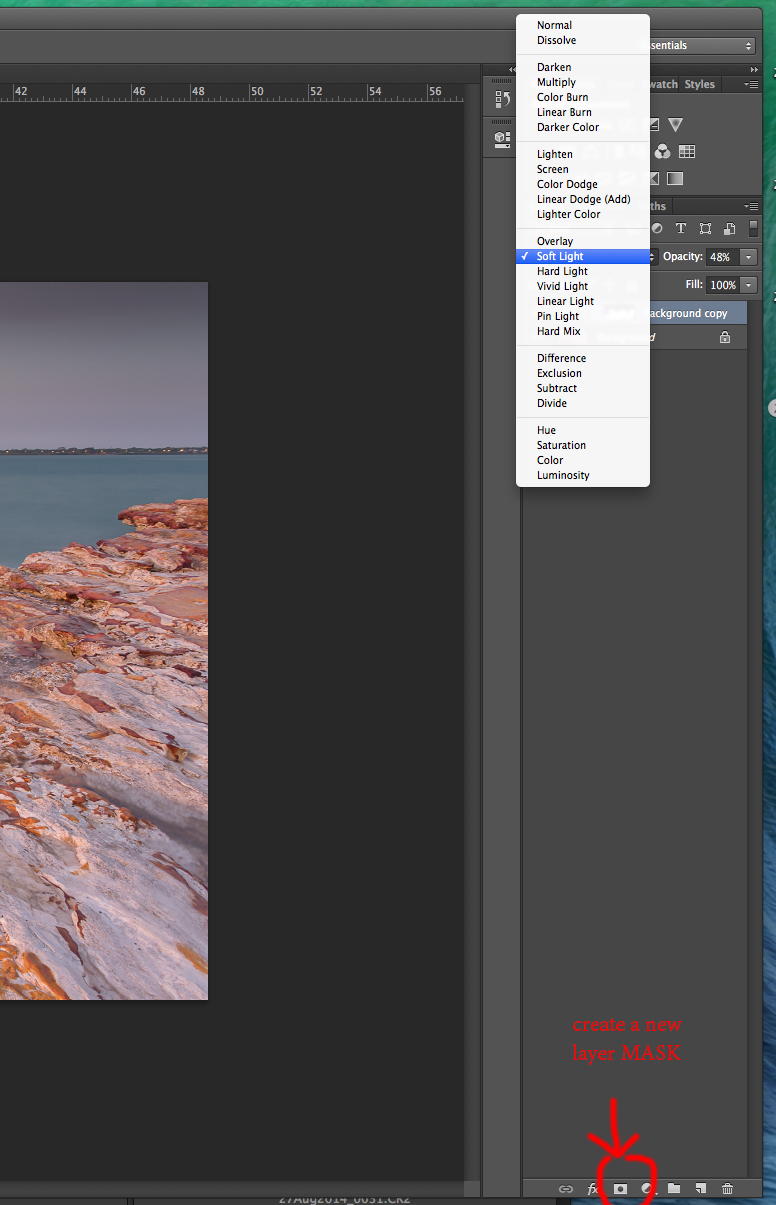
This will apply sharpening to your entire image. For my taste it was too strong, so you will see in the box above I actually lowered the opacity to 48%.
I also added a layer mask to this layer to control where was sharpened. For example, I only wanted the rocks to be sharpened. I wanted the water and the sky to remain smooth and un-sharp! So, I created a layer mask by clicking the little button as indicated in the image above, by the red circle.
This creates a mask but it will be completely white to start with – all of the sharpening adjustment is applied to the image and I needed to paint on to the mask to conceal the sharpening effect from the areas I chose.
So press the B key to select the brush tool. Use the [ key and ] to change the size of the brush. Use the Shift key with [ and ] to feather the edge of the brush. Use the X key to flick between a white and black brush. White reveals and black conceals on the layer mask.
For me, I find it better to work backwards, I fill the mask with black first (to hide the sharpening layer) and then paint with white to “paint on” the sharpening.
So, the layer mask I created, click on the little rectangle on the layer to ensure it is selected. Then select Edit –> Fill –> and fill with Black.
Then ensure B is pressed for the brush tool, and paint with white on the rocks.
Step 3 – LUMINOSITY MASKS
I am not even going to try and explain how to use these masks, as there is an in depth tutorial already here which explains how they work and how to use them:
http://goodlight.us/writing/luminositymasks/luminositymasks-1.html
The below images will only really make sense if you read that tutorial above. I’ll just give the quick run down on how I applied them to this image.
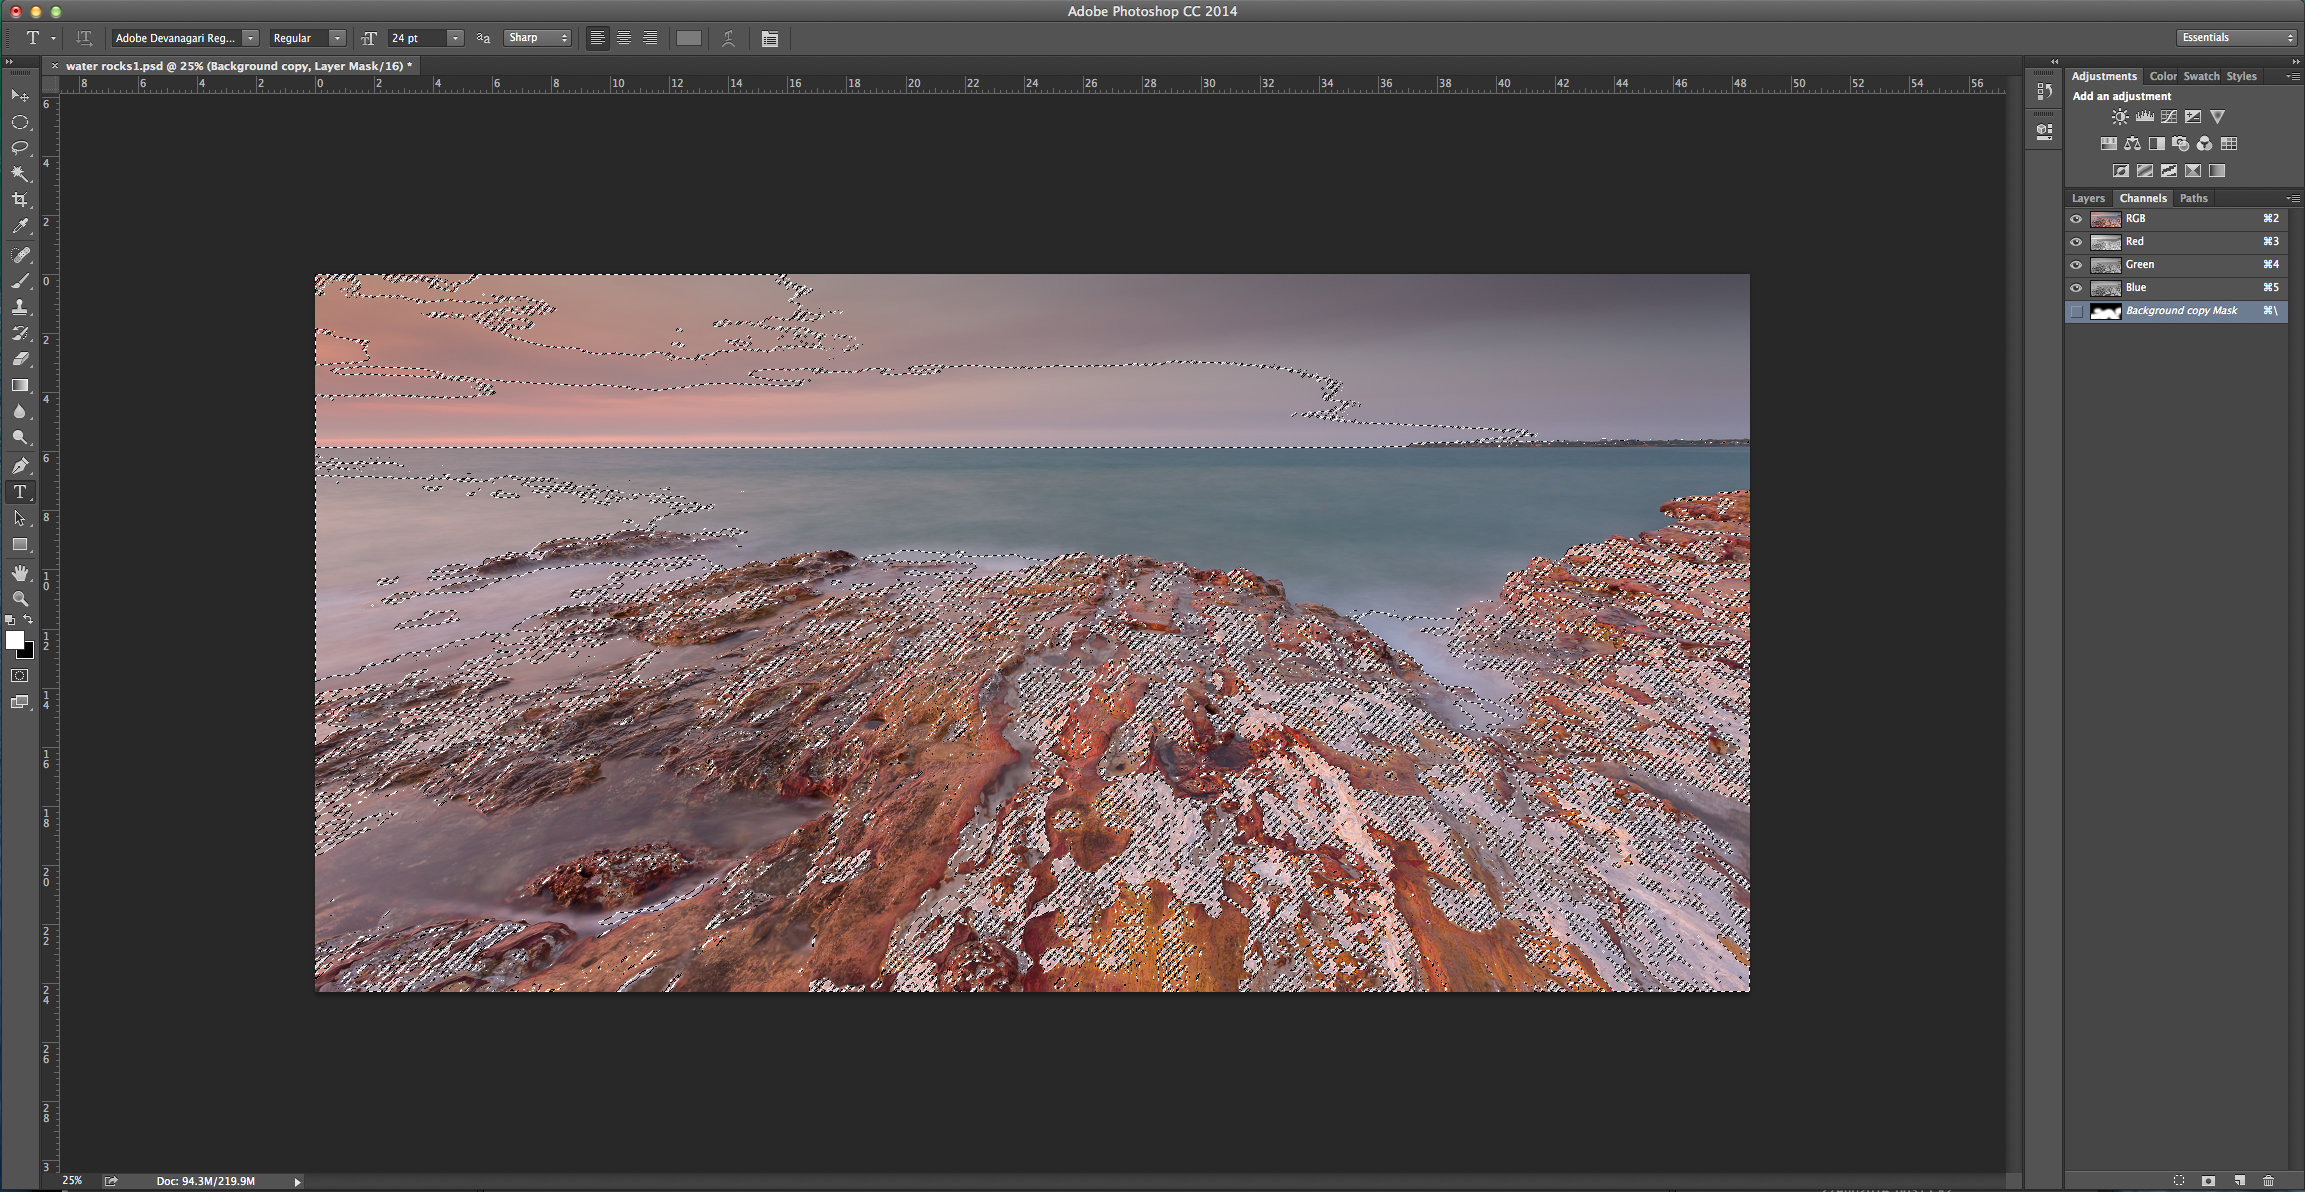
On your Photoshop layers panel, next to the word “Layers”, I have selected the “Channels” Panel.
1. Drag the RGB square from the top down to the circle at the bottom of the panel (far left icon in the panel)
This brings up the little marching ants as shown below.
This selection is the highlights of the image – i.e. the brightest, lightest 50% of the image.
I want to use this in a layer mask.
You can use this selection in a variety of masks but in this instance I want to adjust the contrast in the highlights of the image, and a new contrast adjustment for the darkest tones of the image.
So, from this screen, select the Curves icon (or Levels, if you prefer) and go back to the layers panel.
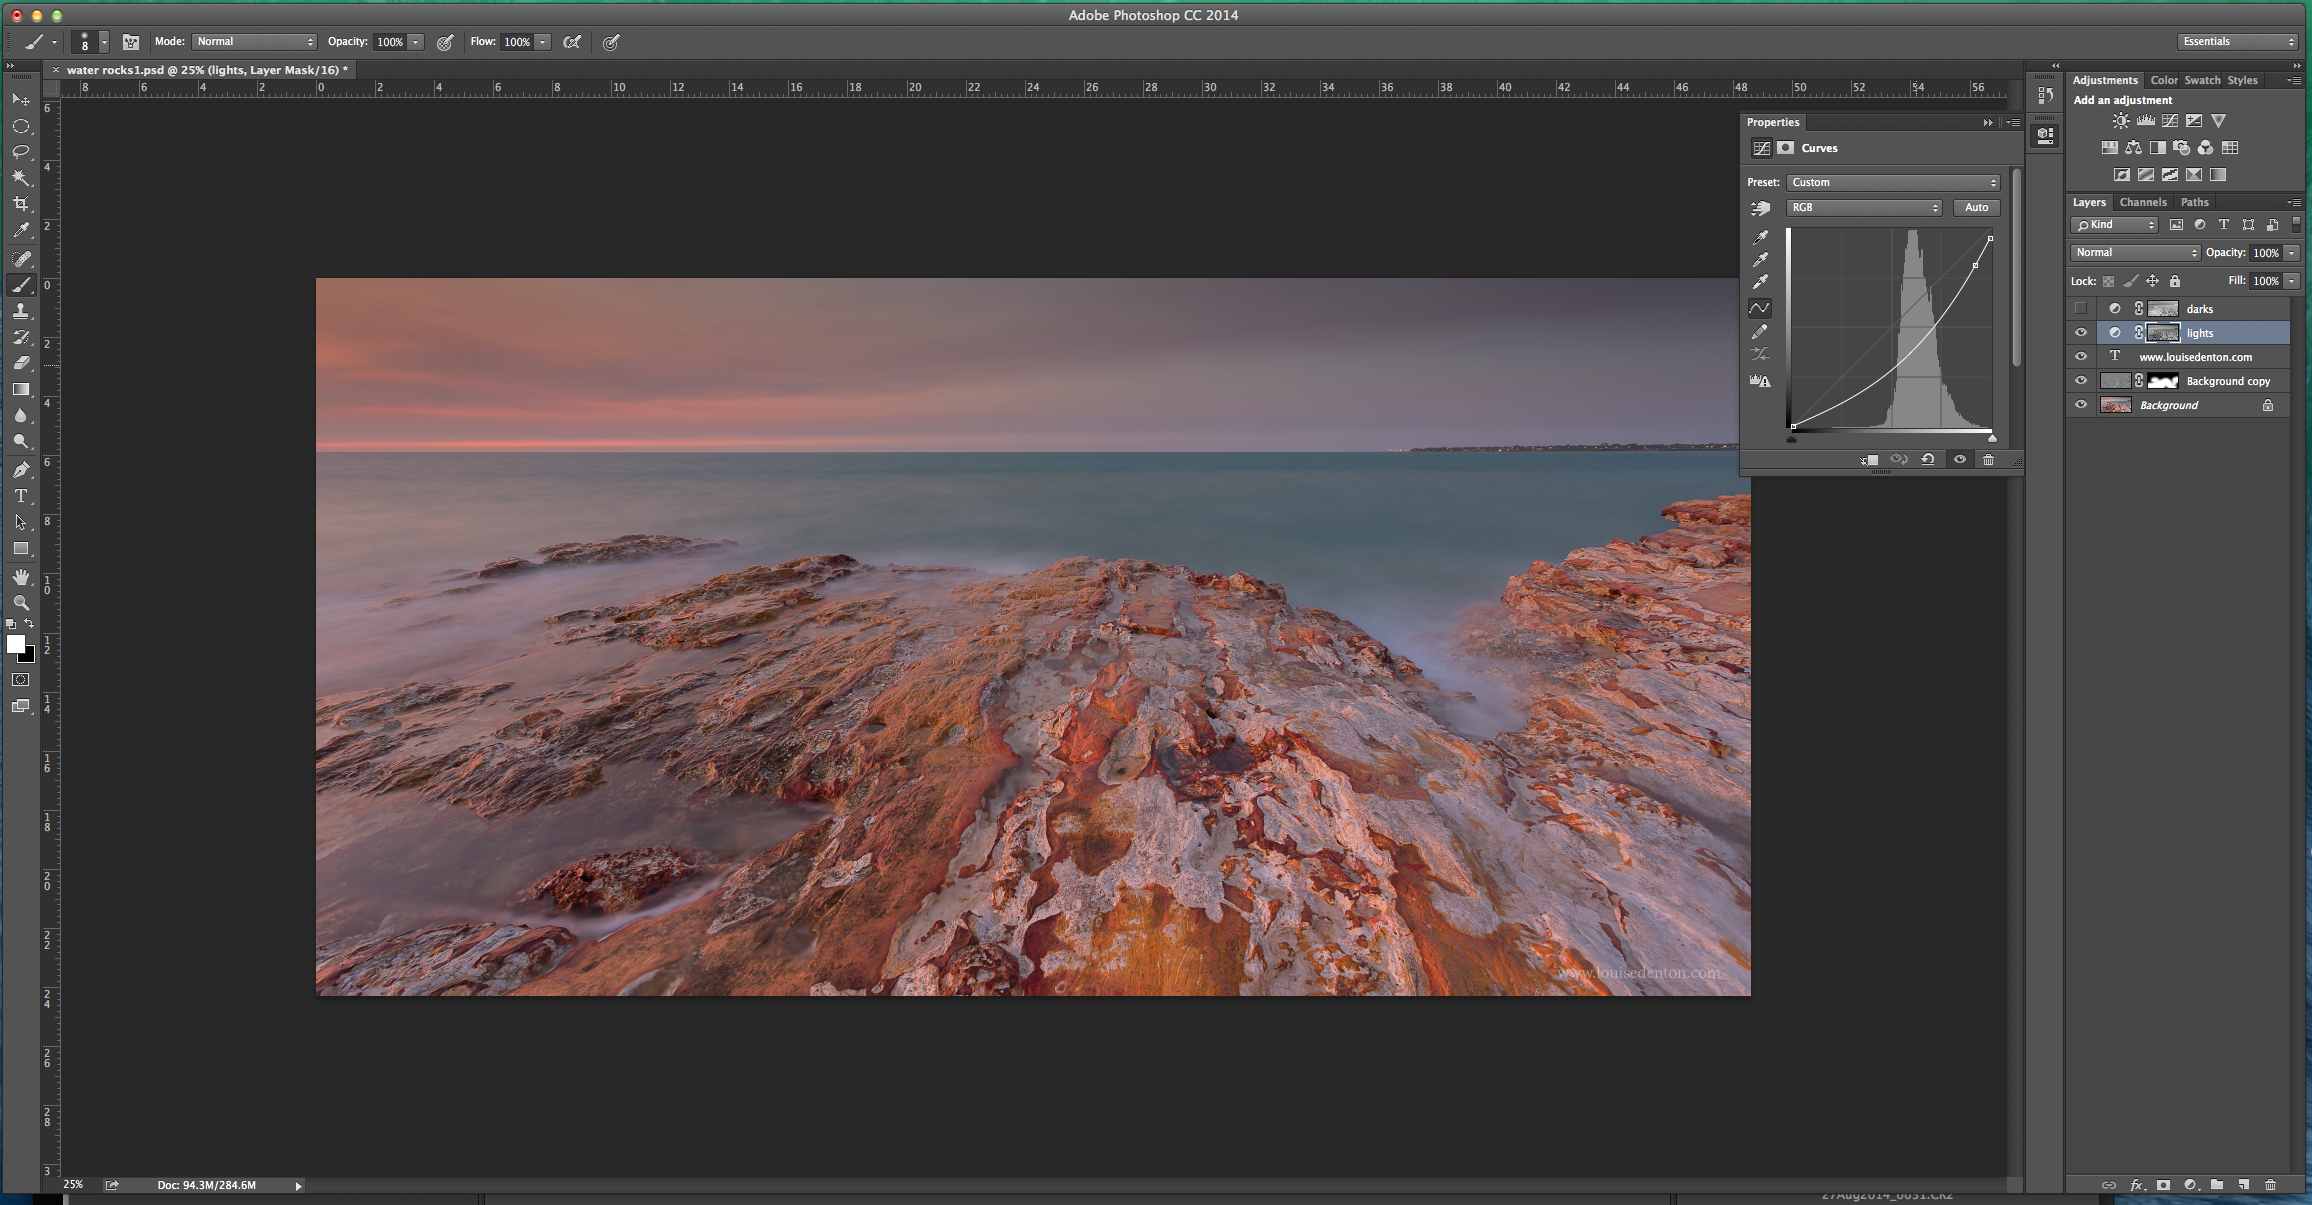
The above image shows how I darkened the brightest highlights.
I also want to do the same for the darks. To select only the darkest area of the image you need to bring back those little marching ants from before.
1. Command, Shift and D will reselect your previous selection (if it doesn’t load, return to the Channels panel and drag the RGB square down to the little circle again).
2. Whilst the marching ants are there, select Command, Shift and I. This will invert your selection and therefore be the darkest 50% of the image.
3. Again I want to adjust the contrast of the darker tones so I selected another Curves layer and made the below adjustment:

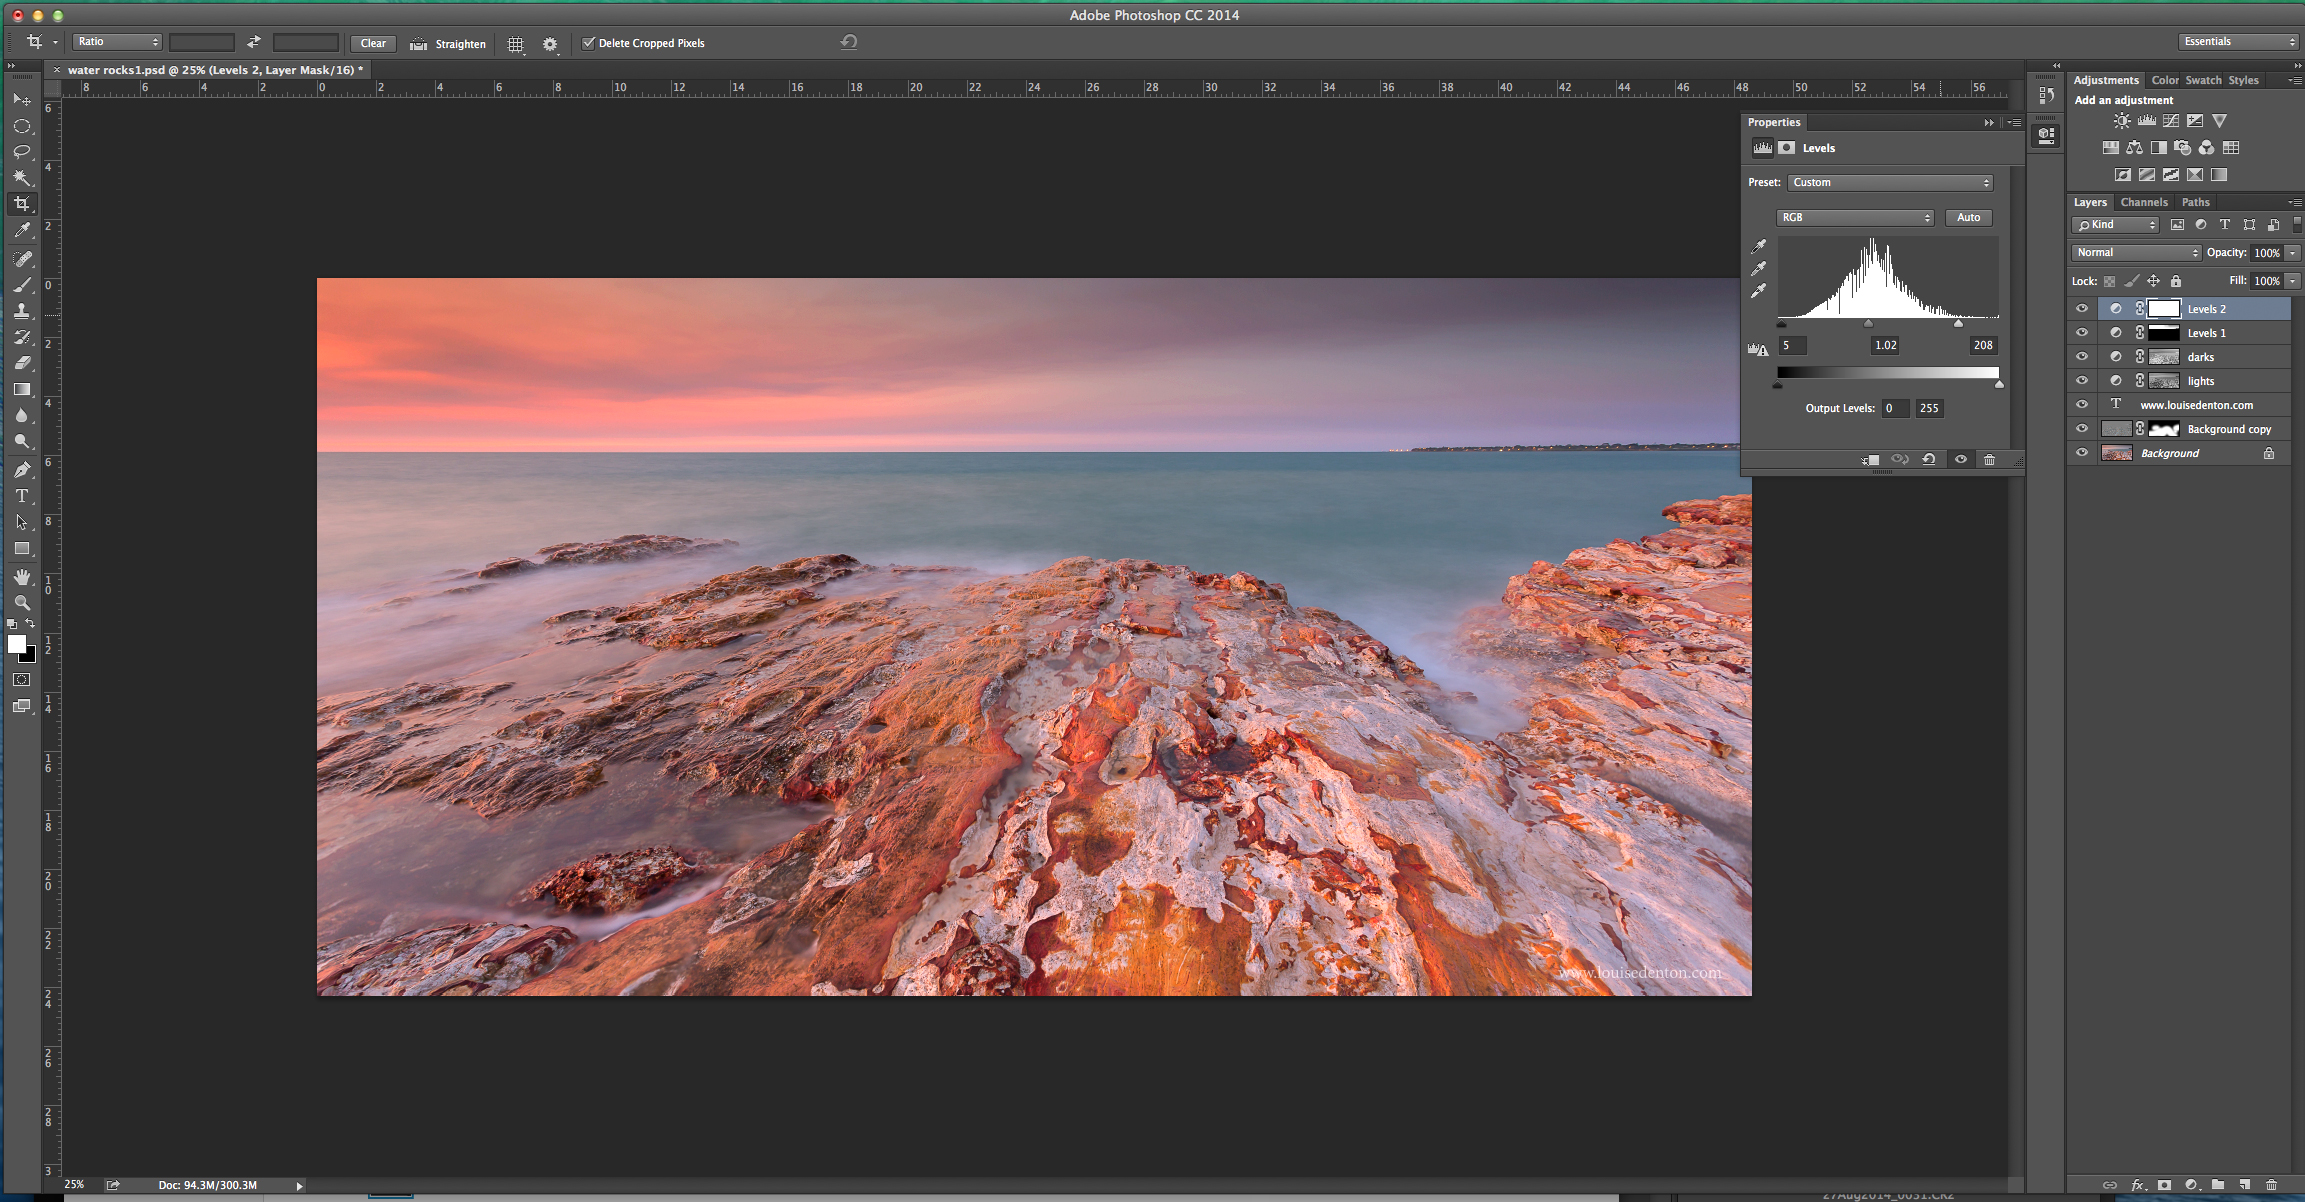
Step 4
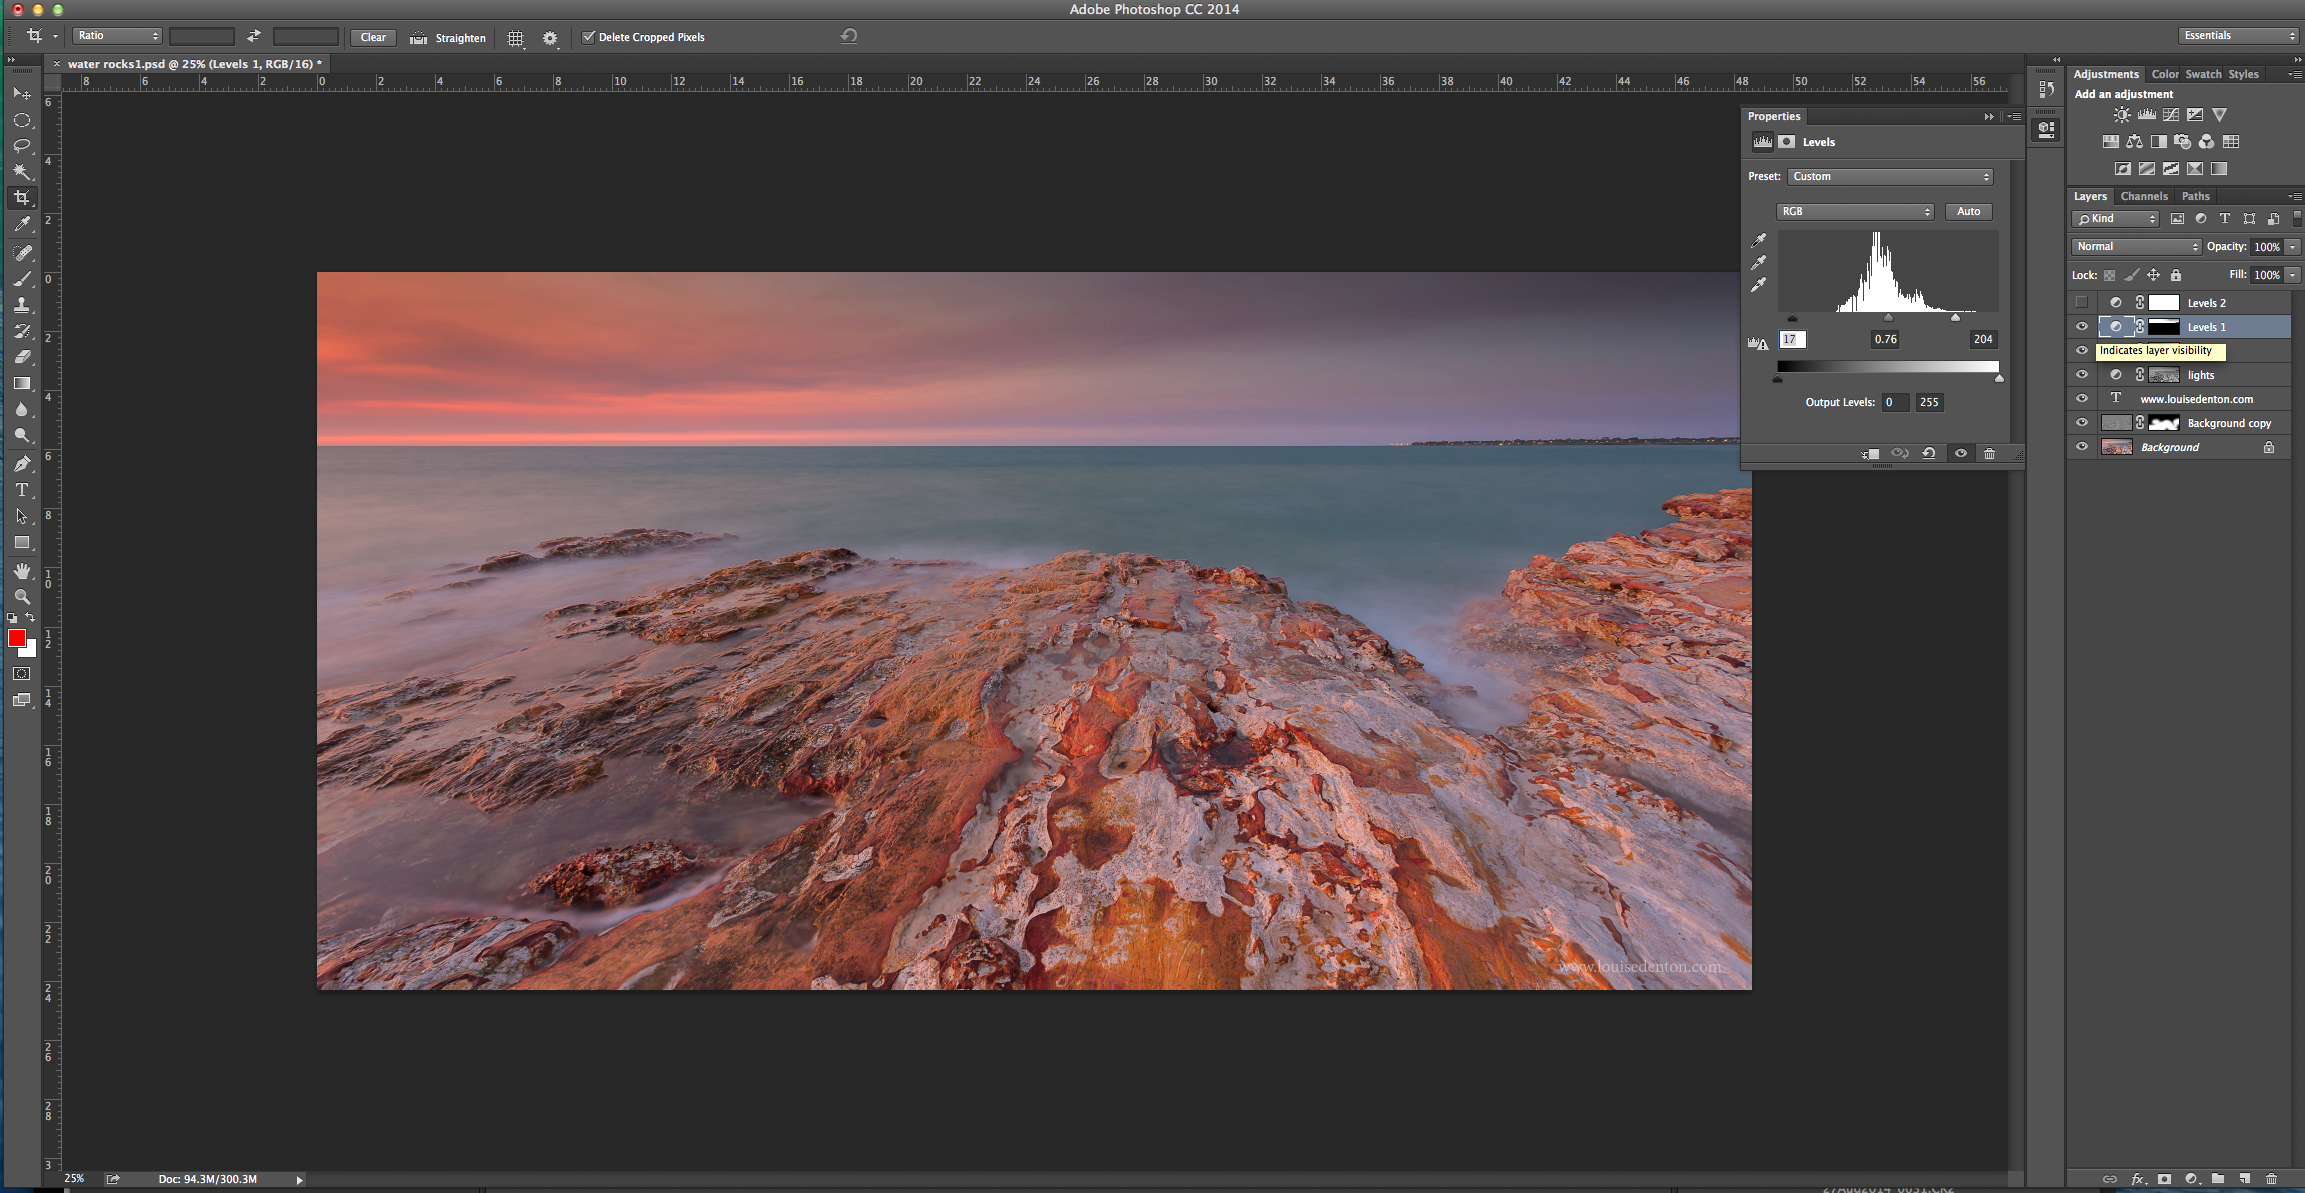
The sky was still a bit flat, so I added a levels layer and used a mask to apply the contrast effect only to the sky:
Step 5:
Overall contrast adjustment – the image was still lacking a bit of brightness and punch!
I added a watermark and that was it!
You can see I have not touched the Hue/Saturation/Colour balance at all. I’ve ONLY done contrast adjustments. Luminosity masks in this case help to even the exposure.

I’ll do more work throughs later, including an example of when I actually do adjust the colours.
It’s not the most comprehensive step-by-step guide, but hopefully a few of these workflows will give you an idea of what I do.
The best light requires the least editing, and at the end of the day that’s what I aim for – not spending hours on the computer! I’d estimate editing this photo took at most 15 minutes. Writing this blog took over an hour ha ha!